Hey guys! I'm here today with a very simple, everyday eyeshadow tutorial using the Rosy Tan palette by Dior. I will list the products I use as I go, so let's get started!
First prime your eye. I used the matte light cream shadow from Revlon's Not Just Nudes quad.
Next I added the matte taupe/brown shade in the bottom right to my entire lid.
Then I blended the silvery taupe in the bottom left in my crease. I also wet my brush just a little bit to give the shadow more intensity.
Next I added the chocolate brown in the top left corner into the outer corner. And then with a clean brush I blended the outer shadows to soften the crease.
Then to give the look more sparkle, with a flat brush I took the shimmery pearl shadow in the middle and patted it in the middle of my lid. I also added with whatever was left on the brush, to my brow bone to highlight.
Finally add a thin line of black eyeliner and mascara and you are done!
Thanks for reading!
Just a southern girl blogging about her obsession. Contact info: Twitter - @mmaegantubbss Email - maegantubbs@gmail.com
Showing posts with label easy. Show all posts
Wednesday, January 15, 2014
Tuesday, January 14, 2014
BeautyBlender Review
Hey guys! I'm here with a review of BeautyBlender sponge (the pink one). This product is a sponge that you use to put on your cream makeup. Most people use it for their foundation. But you can also use to to blend cream products like bronzer and highlighter and you can also use the pointed end to apply concealer in your under-eye area. The amazing thing about this product is that it makes your makeup seem flawless. My foundation looks perfect. And it's insanely easy to use. First you wet it under the sink faucet and squeeze the excess water out, then I pump a little foundation to the back of my hand and use the wider end of the sponge and dip it in the puddle and use a 'stippling' method to apply to my face. I wouldn't drag the sponge across your face. I would recommend cleaning it at least once a week, but I clean my every 3 days. I don't have the liquid or solid cleanser made specifically for this product, so I use baby shampoo. It works fine. You do have to store this carefully so it will dry evenly because some people have had their grow mold. After I apply foundation I prop it on the contain it comes in (point side up) and when I get home I turn it upside down (pointy side down) and in the morning it should be dry! If you would like to purchase this product you can here. Now for some pictures!
Thanks for reading!
Disclaimer - This product was not sent to me.
Thanks for reading!
Disclaimer - This product was not sent to me.
Saturday, December 21, 2013
My Eyebrow Routine
Hey guys! Today I'm here with a tutorial on how I do my eyebrows. I'll mention the products throughout the tutorial so keep an eye out for those. Always remember that eyebrows are sisters, not twins. Let's get started!
P.S. I'm wearing eyeshadows from the Naked 3 palette, so if you want a tutorial on them, let me know in the comments!
First start with a clean brow (duh) and I fill in the first little part of my brow (you can see where I stop) with a lighter color than my brows really are and make sure the lines are nice and sharp. I used Make Up For Ever Aqua Brow in 15 and an angled liner brush.
Then I fill in the brow to the arch with a dark powder. I make sure the lines are straight and pretty, then I blend with the first part of my brow. I used Sexpresso from the Too Faced Natural Eye palette and the same angled brush.
Next is pretty simple. I just fill in the 'tail' part of my brow with the same dark brown shadow and brush.
Finally I set it with a brow gel. I used Elf Wet Gloss.
Thanks for reading!
P.S. I'm wearing eyeshadows from the Naked 3 palette, so if you want a tutorial on them, let me know in the comments!
First start with a clean brow (duh) and I fill in the first little part of my brow (you can see where I stop) with a lighter color than my brows really are and make sure the lines are nice and sharp. I used Make Up For Ever Aqua Brow in 15 and an angled liner brush.
Then I fill in the brow to the arch with a dark powder. I make sure the lines are straight and pretty, then I blend with the first part of my brow. I used Sexpresso from the Too Faced Natural Eye palette and the same angled brush.
Next is pretty simple. I just fill in the 'tail' part of my brow with the same dark brown shadow and brush.
Finally I set it with a brow gel. I used Elf Wet Gloss.
Thanks for reading!
Tuesday, July 30, 2013
Easy Colored Eyeliner Tutorial
Hey guys! Today I'm coming to you with a colored eyeliner tutorial! Because sometimes we want blue eyeliner but we don't have a blue liner. So here's the solution! (I do not take credit - got the idea from a Reddit post)
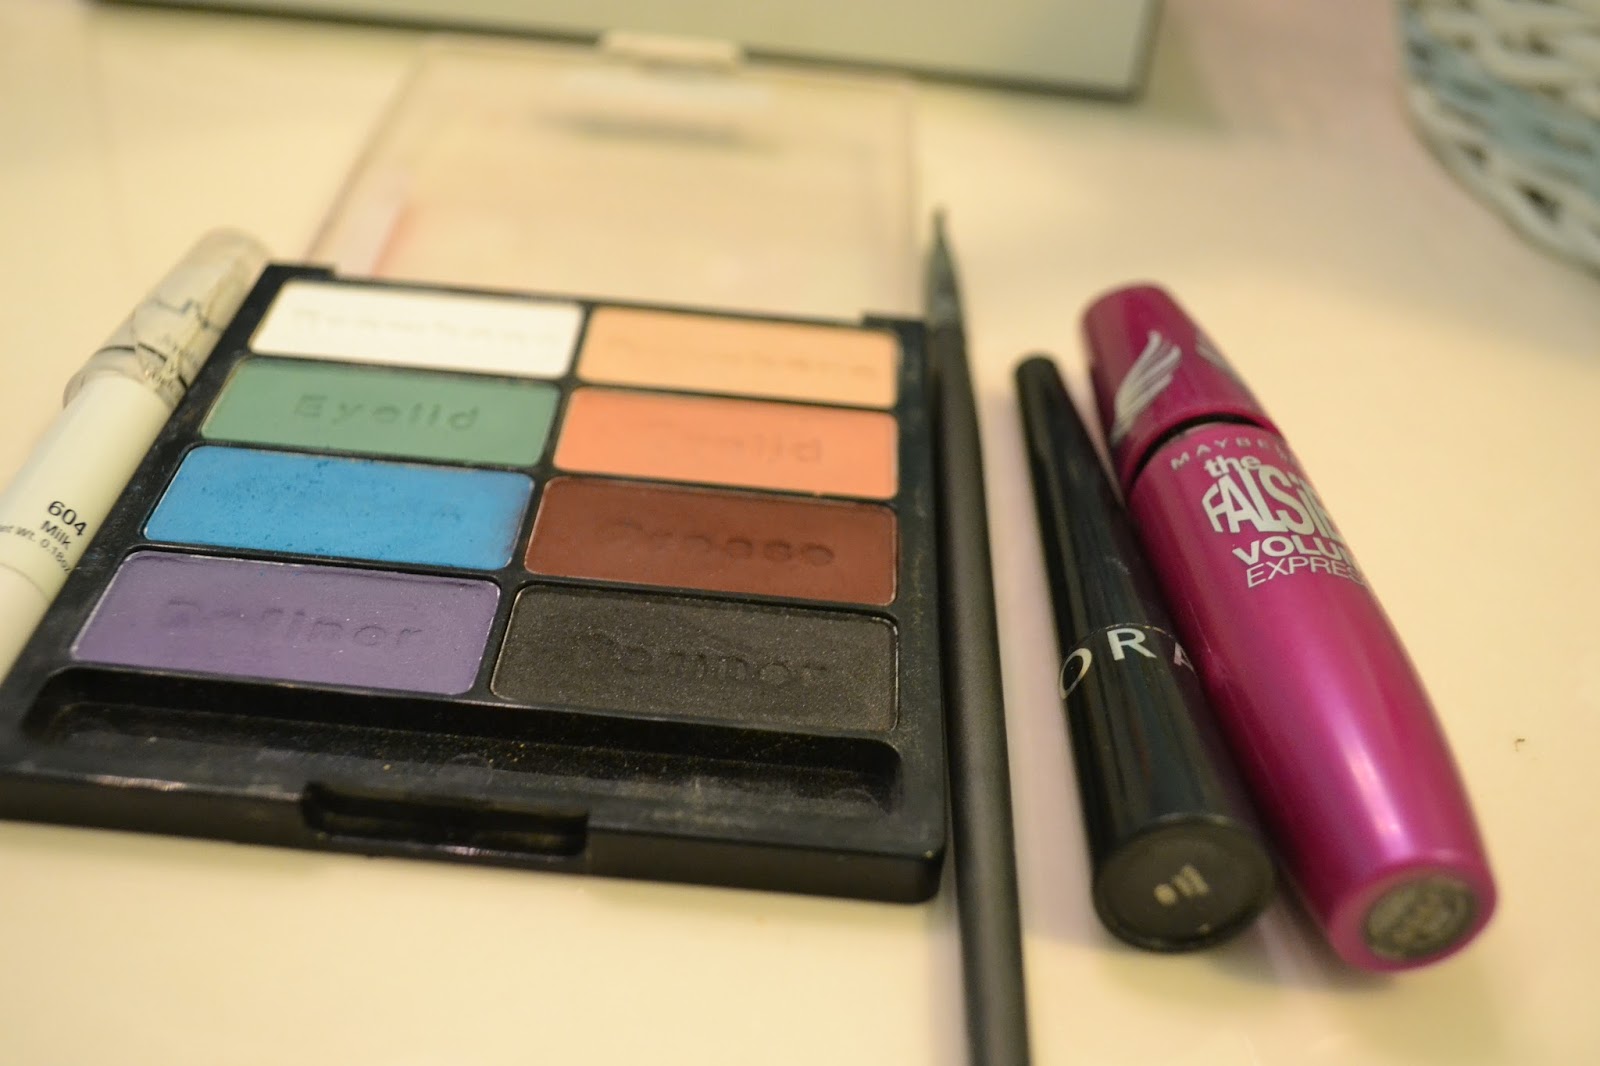
Here are the products you need.
White eyeliner, blue matte eyeshadow, angled eye brush, black liquid liner, and mascara
Here are the products you need.
White eyeliner, blue matte eyeshadow, angled eye brush, black liquid liner, and mascara
(NYX Jumbo Pencil in Milk, WnW I <3 Matte Palette, Sephora Liquid Liner, Maybelline The Falsie Flared)
First you want to start with a bare eyelid and line your upper lash line with the white liner. I did cat eye liner, but a little thicker than usual.)
Then fill in that white with the blue shadow with an angled eye brush.
And then line the blue with a smaller line with black liquid liner.
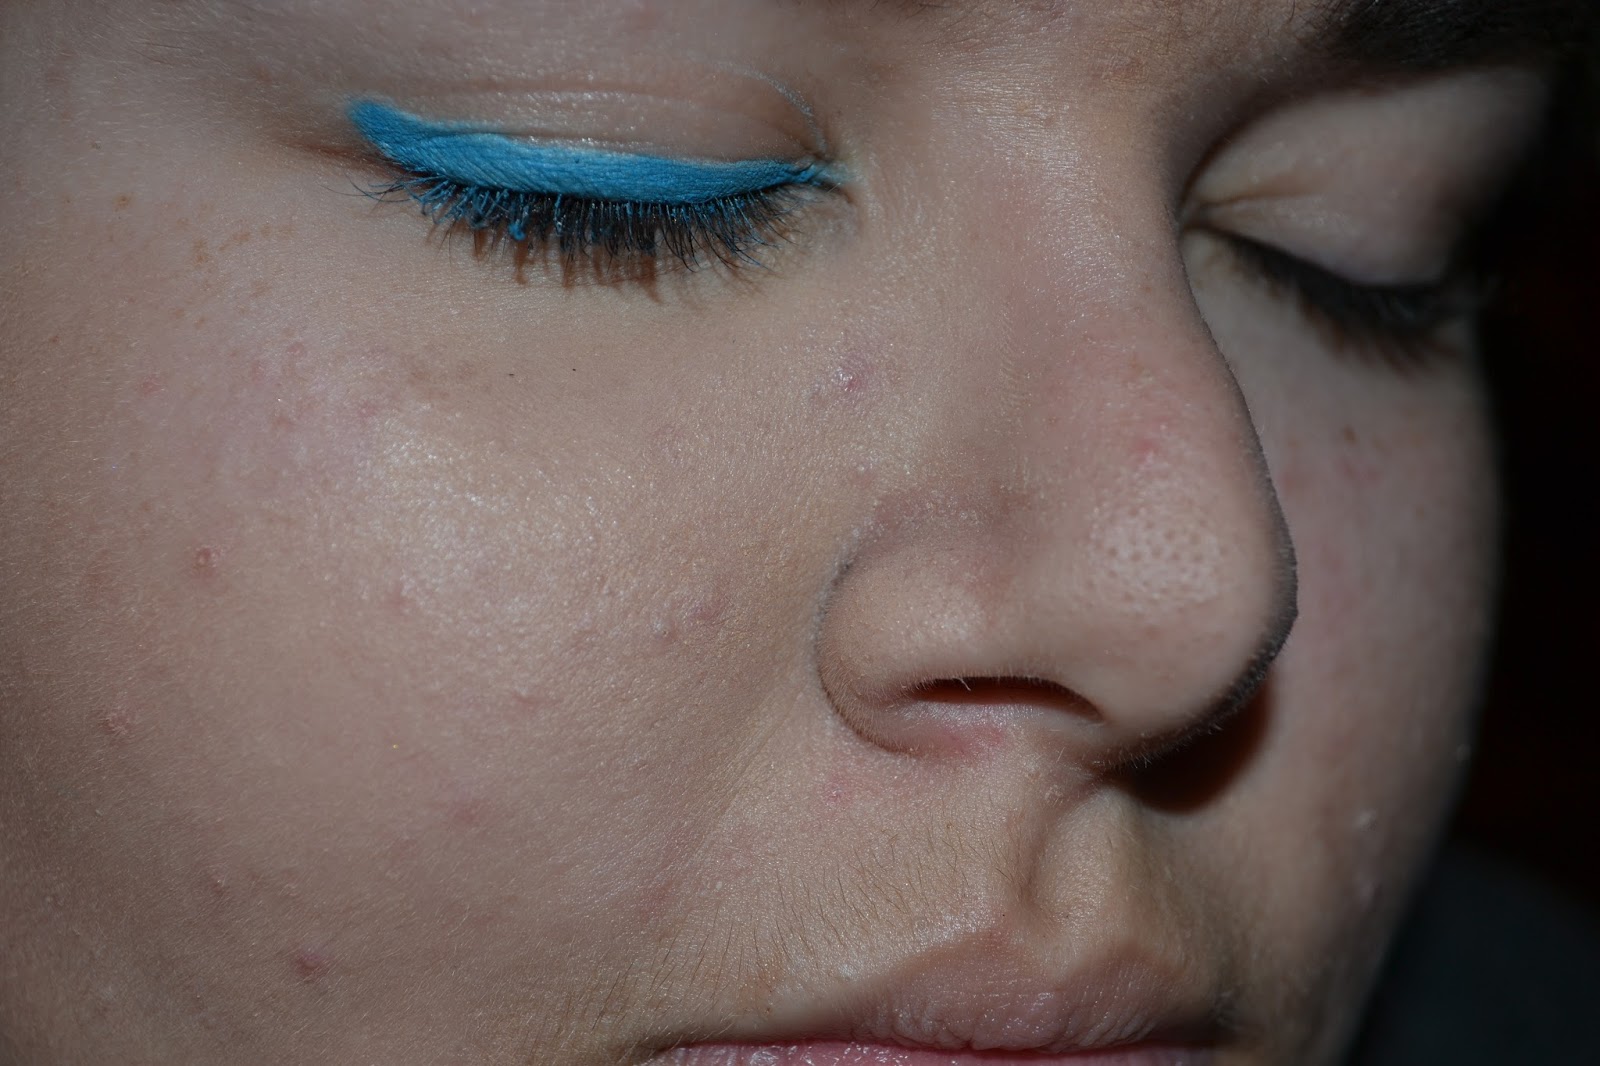
Then I lined my waterline with the white and using the angled eye brush, filled it in with blue. And added mascara.
That's it! Thanks for reading! :)
Bonus - Ugly picture! Haha
Subscribe to:
Posts (Atom)