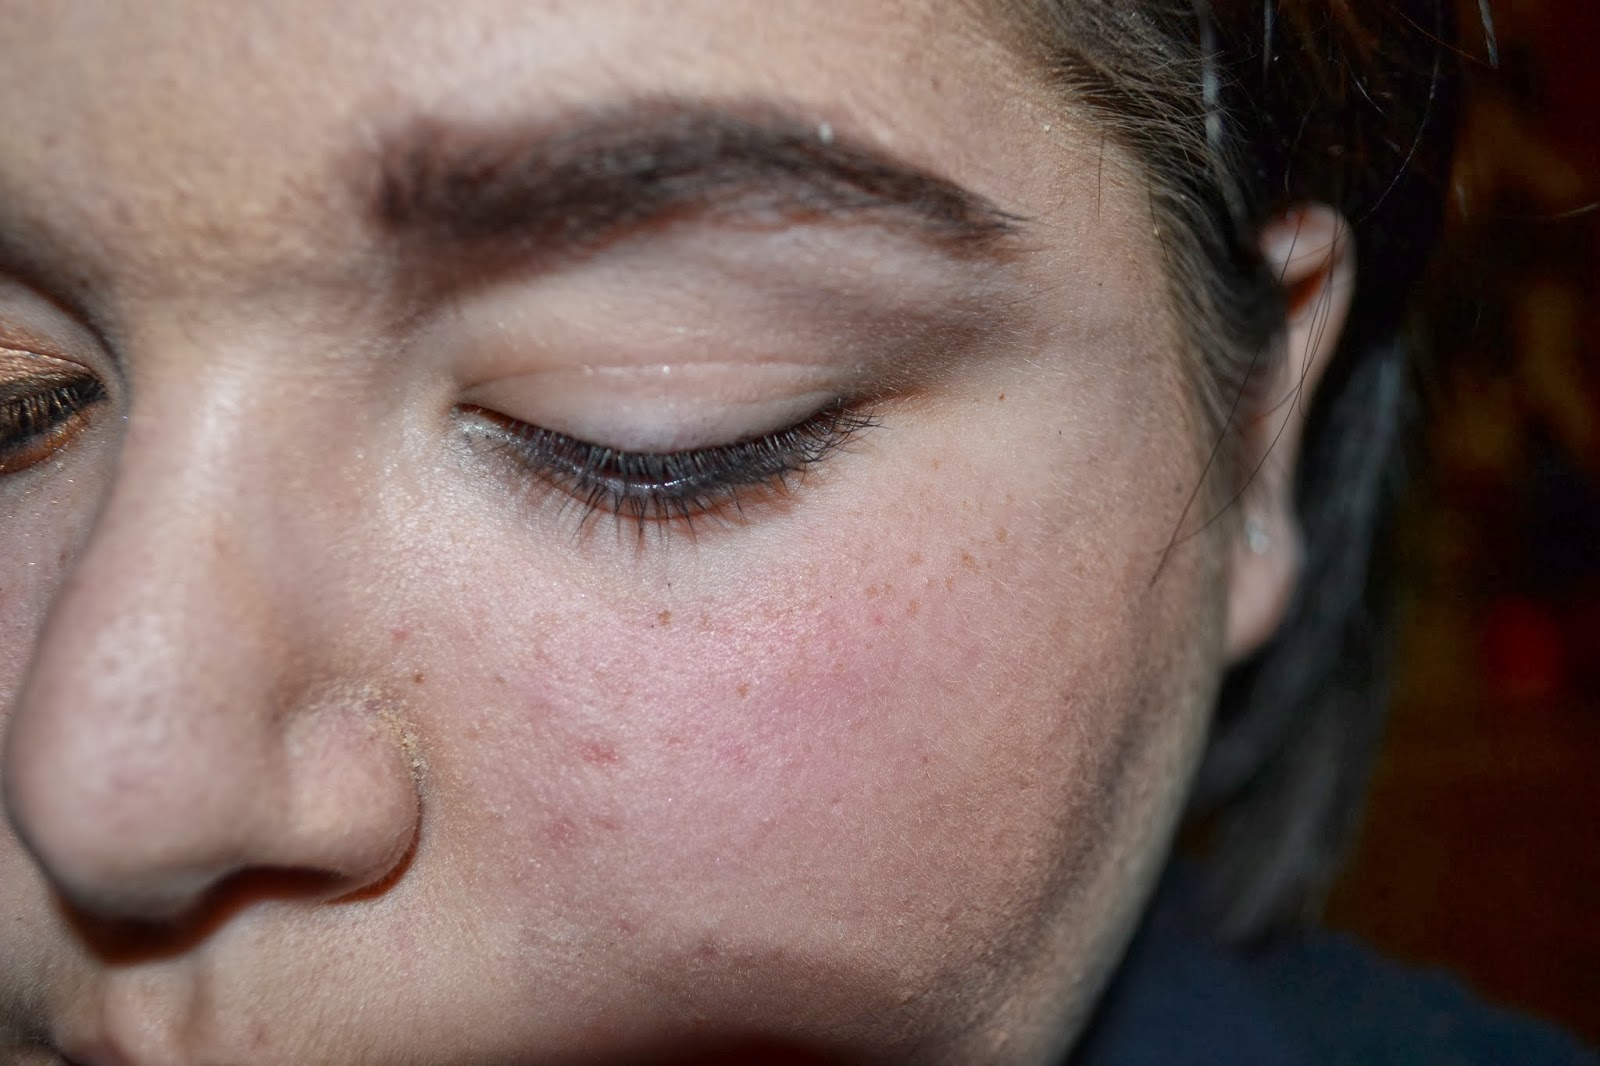
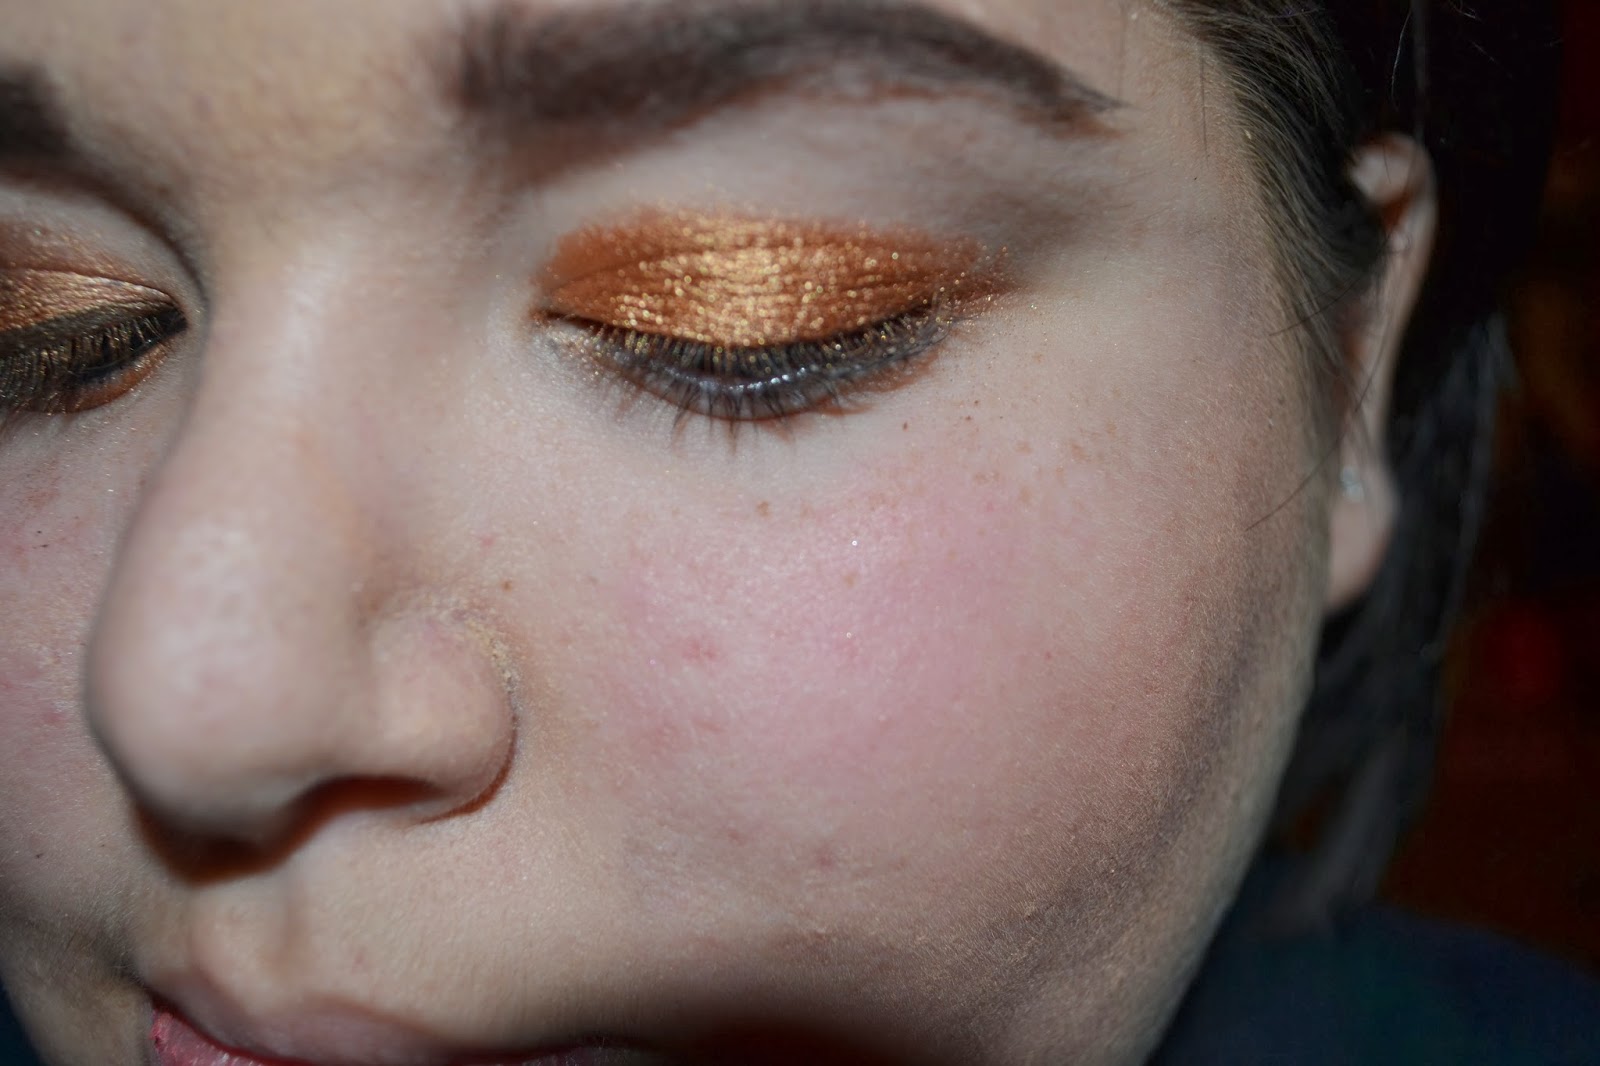
Hey guys! I'm here today with a review and before and after of Maybelline's Baby Skin. This clear gel product is a 'pore eraser', It is meant to reduce the look of fine lines and pores. I have enormous pores on my nose so I was so excited to try this product. This goes on the skin very smoothly and after rubbing this in, you can't feel it on this skin which is good because sometimes you can feel products sitting on top of your skin and not soaking in. As for pore reducing, I didn't notice a huge change. They were smaller but you could still see them. So let's jump on in to the pictures!
Just a southern girl blogging about her obsession. Contact info: Twitter - @mmaegantubbss Email - maegantubbs@gmail.com
Showing posts with label Maybelline. Show all posts
Friday, February 14, 2014
Monday, February 3, 2014
Sultry Valentines Day Eyeshadow Tutorial Using Naked 3 Palette
Hey guys! I'm here with a fun, night out, Valentines Day eyeshadow tutorial using the Urban Decay Naked 3 palette. I will list the products I used as I go, so let's get started!
First start with a clean eye and smooth on a dark purple cream eyeshadow. I used Maybelline Color Tattoo in Pomegranate Punk and my finger.
Next I added the color Factory all over my lid with a large flat shading brush.
Next, using a small precision brush, I created the shape I wanted for my outer corner/crease with the color Blackheart.
Then added color little by little I blended it in. Kind of like a soft cut crease.
To make my eye pop I picked up the shadow Dust on a small flat shader brush and sprayed it with MAC Fix Plus to make it almost metallic and I applied this to the very center on my eyelid.
I added the color Strange to my brow bone with a fluffy brush and then with an angled brush, I went back to the color Factory and smudged it under my lash line to the middle.
Finally I added Stila Stay All Day Liquid Eyeliner in Black to the top lash line and Benefit They're Real mascara and you're done!
Thanks for reading!
First start with a clean eye and smooth on a dark purple cream eyeshadow. I used Maybelline Color Tattoo in Pomegranate Punk and my finger.
Next I added the color Factory all over my lid with a large flat shading brush.
Next, using a small precision brush, I created the shape I wanted for my outer corner/crease with the color Blackheart.
Then added color little by little I blended it in. Kind of like a soft cut crease.
To make my eye pop I picked up the shadow Dust on a small flat shader brush and sprayed it with MAC Fix Plus to make it almost metallic and I applied this to the very center on my eyelid.
I added the color Strange to my brow bone with a fluffy brush and then with an angled brush, I went back to the color Factory and smudged it under my lash line to the middle.
Finally I added Stila Stay All Day Liquid Eyeliner in Black to the top lash line and Benefit They're Real mascara and you're done!
Thanks for reading!
Labels:
benefit,
day,
eyeshadow,
makeup,
Maybelline,
naked 3,
palette,
sephora,
stila,
sultry,
Too Faced,
tutorial,
Urban Decay,
valentines
Sunday, December 8, 2013
Products I've Hit Pan On
Hey guys! I'm here today to show you what products I've hit pan on. Let's jump right in!
Benefit Boi-ing Concealer
This was in the Boi-ing and Lemonade duo at Ulta, and I immediately fell in love with this concealer. What's left in the pan is dry :(
Maybelline Dream Matte Powder
I loveeee this powder. It cracked and shattered into a million pieces so I pressed it and then hit pan on it again. Which is awesome. I need to buy a new one.
Maybelline Gel Liner
This is an awesome gel liner for the price but I bought a Tarte liner and it is so much better.
NARS Powder Foundation
This foundation has amazing coverage and is worth the price. It came with a sponge to apply it with, which I used into oblivion, so now I use a dense powder brush from Bare Minerals. I like the sponge better.
Neutrogena Natural Radiance Bronzer
I love this bronzer. It has the perfect amount of shimmer to warm up my face. It is a bit too light to contour with though.
C. O. Bigelow Rose Salve
I'm not sure if this really counts but I'm adding it anyway.It's okay. I don't love products that you stick your finger in.
Sonia Kashuk Concealer Palette
I freaking love this thing. It matches me perfectly. I need to get another one soon.
Too Faced Milk Chocolate Soleil Bronzer
This is my second one and I need to purchase a third! It is perfect to contour my pale face and smells like hot chocolate. I can't ask for more.
\\
Too Faced Natural Eye Palette
Ahh, what fond memories. This was my second eyeshadow palette. Ever. It's not old, I promise haha. But seriously, why can't Too Faced sell single eyeshadows??
Thanks for reading!
Saturday, December 7, 2013
Winter Wonderland Makeup Tutorial
Hey guys! I'm here today with a winter themed makeup tutorial. For me, this look was just for fun. I wouldn't wear it everyday, but I might for a party! So grab those frosty blue shadows shoved in the back of your makeup drawer and lets get started!
First, start off with a clean lid and add a sparkly white cream shadow to just the lid. I used Maybelline Color Tattoo in Too Cool.
Then add a white shadow over it. I used Sick of Swimmin' from the Ariel palette from Sephora because it is a white with a blue duochrome. It's gorgeous.
Next, blend a bright matte blue in the crease. I used a random blue color from my BH 88 Matte palette.
Then put a darker blue in the crease. I used Blue Lagoon from the Ariel palette. Make sure it's not too dark.
Then add your highlight to the brow bone and inner corner. I used a white glitter bomb shadow.
Next add black liner to the upper lashes and the darkest blue shade to the lower lashes. I used Maybelline Gel Liner and Blue Lagoon again.
Finally I added mascara and went over the black liner with a glitter liner. I used ELF Mascara and Startdust glitter liner.
Thanks for reading!
First, start off with a clean lid and add a sparkly white cream shadow to just the lid. I used Maybelline Color Tattoo in Too Cool.
Then add a white shadow over it. I used Sick of Swimmin' from the Ariel palette from Sephora because it is a white with a blue duochrome. It's gorgeous.
Next, blend a bright matte blue in the crease. I used a random blue color from my BH 88 Matte palette.
Then put a darker blue in the crease. I used Blue Lagoon from the Ariel palette. Make sure it's not too dark.
Then add your highlight to the brow bone and inner corner. I used a white glitter bomb shadow.
Next add black liner to the upper lashes and the darkest blue shade to the lower lashes. I used Maybelline Gel Liner and Blue Lagoon again.
Finally I added mascara and went over the black liner with a glitter liner. I used ELF Mascara and Startdust glitter liner.
Thanks for reading!
Sunday, November 10, 2013
Autumn Eyeshadow Tutorial
Hey guys! I'm here today with a autumn/fall tutorial. Fall is my favorite time of the year and I love all the makeup looks that come with it! So here is my everyday autumn makeup :) Products will be listed below. Let's get started!
First prime your eyelid with a primer. Then cover your lid with a cream or pencil liner that is a light gold color. I used an eye pencil.
Then put a gold eyeshadow all over your lid.
Then add a matte orange to the outer 3rd and then blend a dark purple in the crease.
Next add the dark purple on the lower part of your lashes and only to the outer corner to the middle and at the middle blend the light gold to the inner corner. Finally add a matte cream color as your highlight on your brow bone.
After you add gel liner to the top lash line, black pencil liner to the water line, and mascara you're done!
Thanks for reading!
Products used
Opened. Eyeshadow used are in orange boxes
First prime your eyelid with a primer. Then cover your lid with a cream or pencil liner that is a light gold color. I used an eye pencil.
Then put a gold eyeshadow all over your lid.
Then add a matte orange to the outer 3rd and then blend a dark purple in the crease.
Next add the dark purple on the lower part of your lashes and only to the outer corner to the middle and at the middle blend the light gold to the inner corner. Finally add a matte cream color as your highlight on your brow bone.
After you add gel liner to the top lash line, black pencil liner to the water line, and mascara you're done!
Thanks for reading!
Products used
- LORAC Pro Palette
- Covergirl Clump Crusher mascara
- NYX Jumbo Eye Pencil in Cashmere
- Urban Decay 24/7 Glide On Eye Pencil in Perversion
- Urban Decay Eyeshadow Primer Potion
- MAC Saffron Eyeshadow
- Maybelline Gel Liner in Espresso
Opened. Eyeshadow used are in orange boxes
Monday, September 30, 2013
Lorde "Royals" Makeup Tutorial
Hey guys! I'm here with a makeup tutorial on Lorde's makeup in the music video "Royals". I LOVE that song. Products will be listed below, so let's get started!
First prime your eye and use a light beige shimmery eyeshadow all over your lid.
Then add a black line on your lash line using a black gel liner, but don't extend it up yet. I like gel liner because it gives you more precision.
Then make a small line extending towards the end of your brow and go up to your crease.
Then follow your crease halfway with this line. That probably made no sense. Just look at the picture.
Now soften it up with a matte black. I just followed the lines with this color.
Add some mascara pink lipstick and you're all done!
Thanks for reading!
Products used
Opened
First prime your eye and use a light beige shimmery eyeshadow all over your lid.
Then add a black line on your lash line using a black gel liner, but don't extend it up yet. I like gel liner because it gives you more precision.
Then make a small line extending towards the end of your brow and go up to your crease.
Then follow your crease halfway with this line. That probably made no sense. Just look at the picture.
Now soften it up with a matte black. I just followed the lines with this color.
Add some mascara pink lipstick and you're all done!
Thanks for reading!
Products used
- Urban Decay Naked Basics Palette (Venus and Crave)
- Maybelline Eyestudio Gel Liner in Espresso
- Maybelline Falsies Flared Mascara
- MAC Lipstick in Snob
- NYX Soft Matte Lip Cream in Tokyo
Opened
Labels:
black,
eye,
eyeliner,
lash,
lips,
lorde,
mac,
maccosmetics,
makeup,
mascara,
Maybelline,
nyx,
royals,
tutorial,
Urban Decay
Subscribe to:
Posts (Atom)