Showing posts with label Urban Decay. Show all posts

Friday, October 24, 2014

Brown Smokey Eyeshadow Tutorial for Fall

Hey guys! I'm here for a quick smokey eye I've been doing a lot lately for the fall time. I'll list all the products used at the end. Let's get started!

First prime you eye and add a dark brown with golden shimmer.


Then blend a light matte brown around the crease to blend the color out.

Next I added a slightly darker brown, again with some golden shimmer in the crease.


Then add a gold right in the middle of your lid, and a light soft cream golden shade to your inner corner and browbone.


Finally I added a dark matte brown gel liner, mascara, and false lashes!


Thanks for reading this short tutorial! Happy holidays :)

FACE:
Smashbox Photo Finish Foundation Primer
Urban Decay Urban Defense Tinted Moisturizer - Bodyguard
Hard Candy Glamoflauge - Medium/Light
Revlon Nearly Naked Powder - Light
Anastasia Contour Powder - Banana

CHEEKS:
Buxom Hot Escapes Bronzer - Tahiti
NARS Blush - Orgasm
Benefit High Beam
Anastasia Contour Powder - Sand

BROWS:
Anastasia Dipbrow Pomade - Chocolate

EYES:
MAC Paint Pot - Painterly
Urban Decay Naked Palette - Smog, Darkhorse, Naked, Half Baked
MAC Pigment - Vanilla
Unknown brand of gel liner
Ardell Demi Wispies

Thursday, May 29, 2014

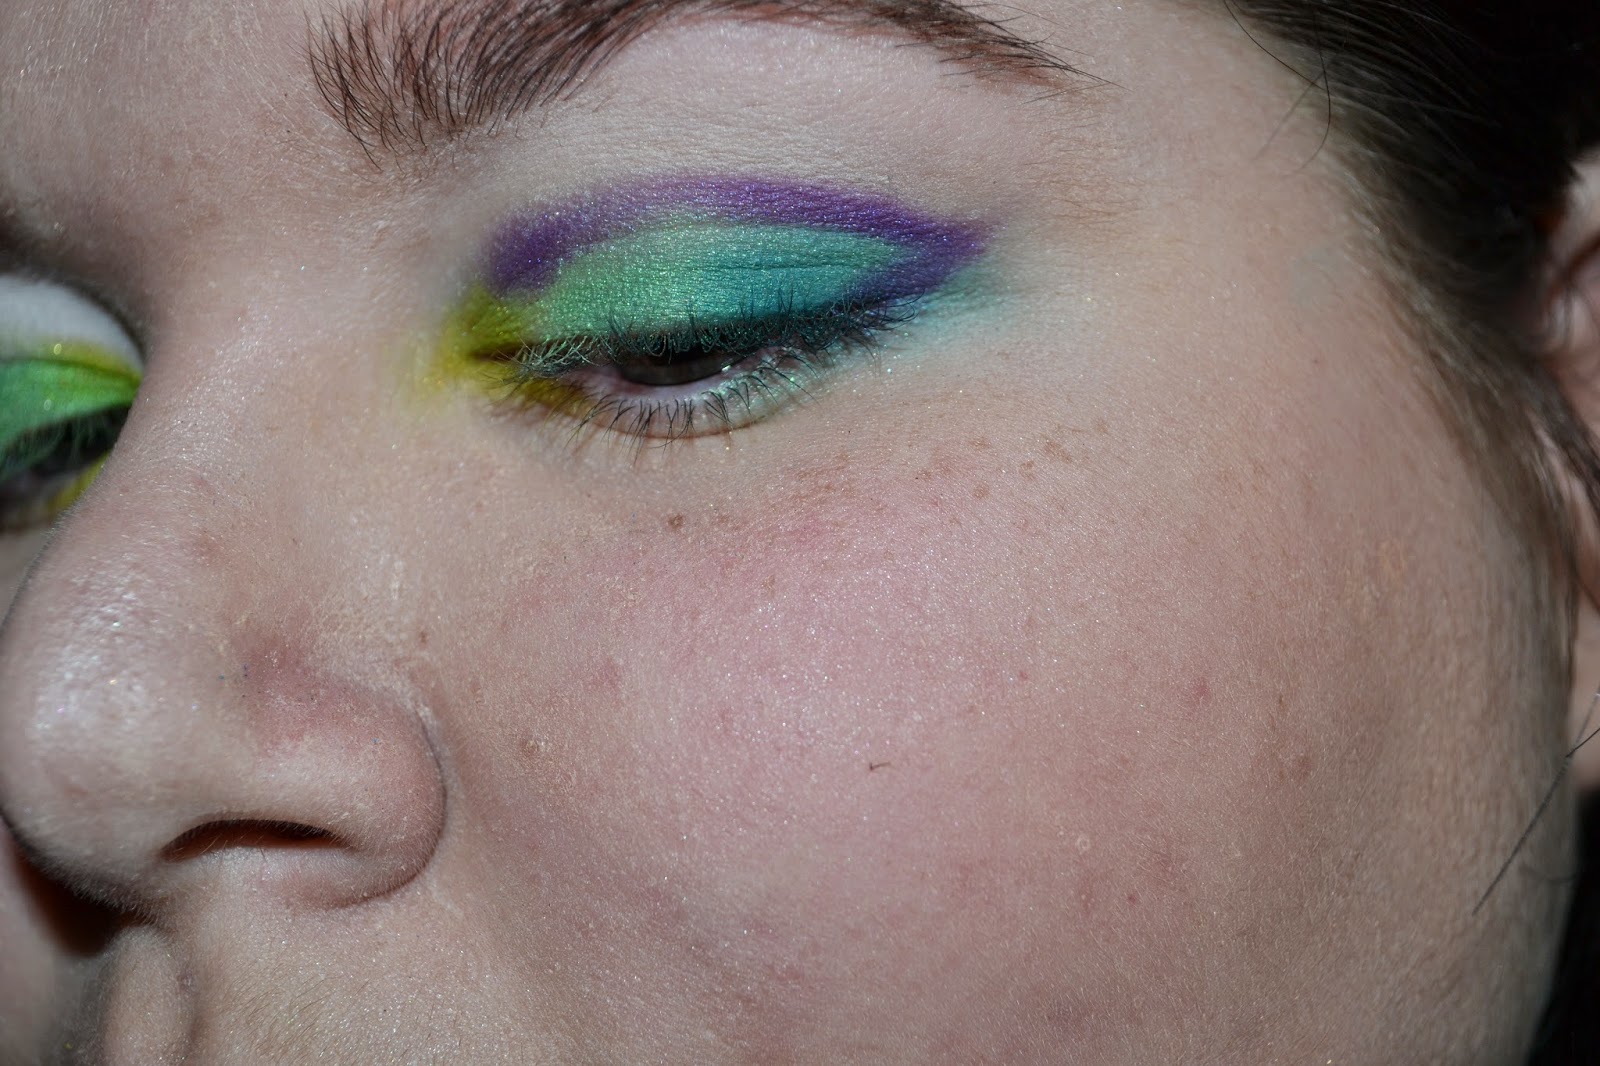
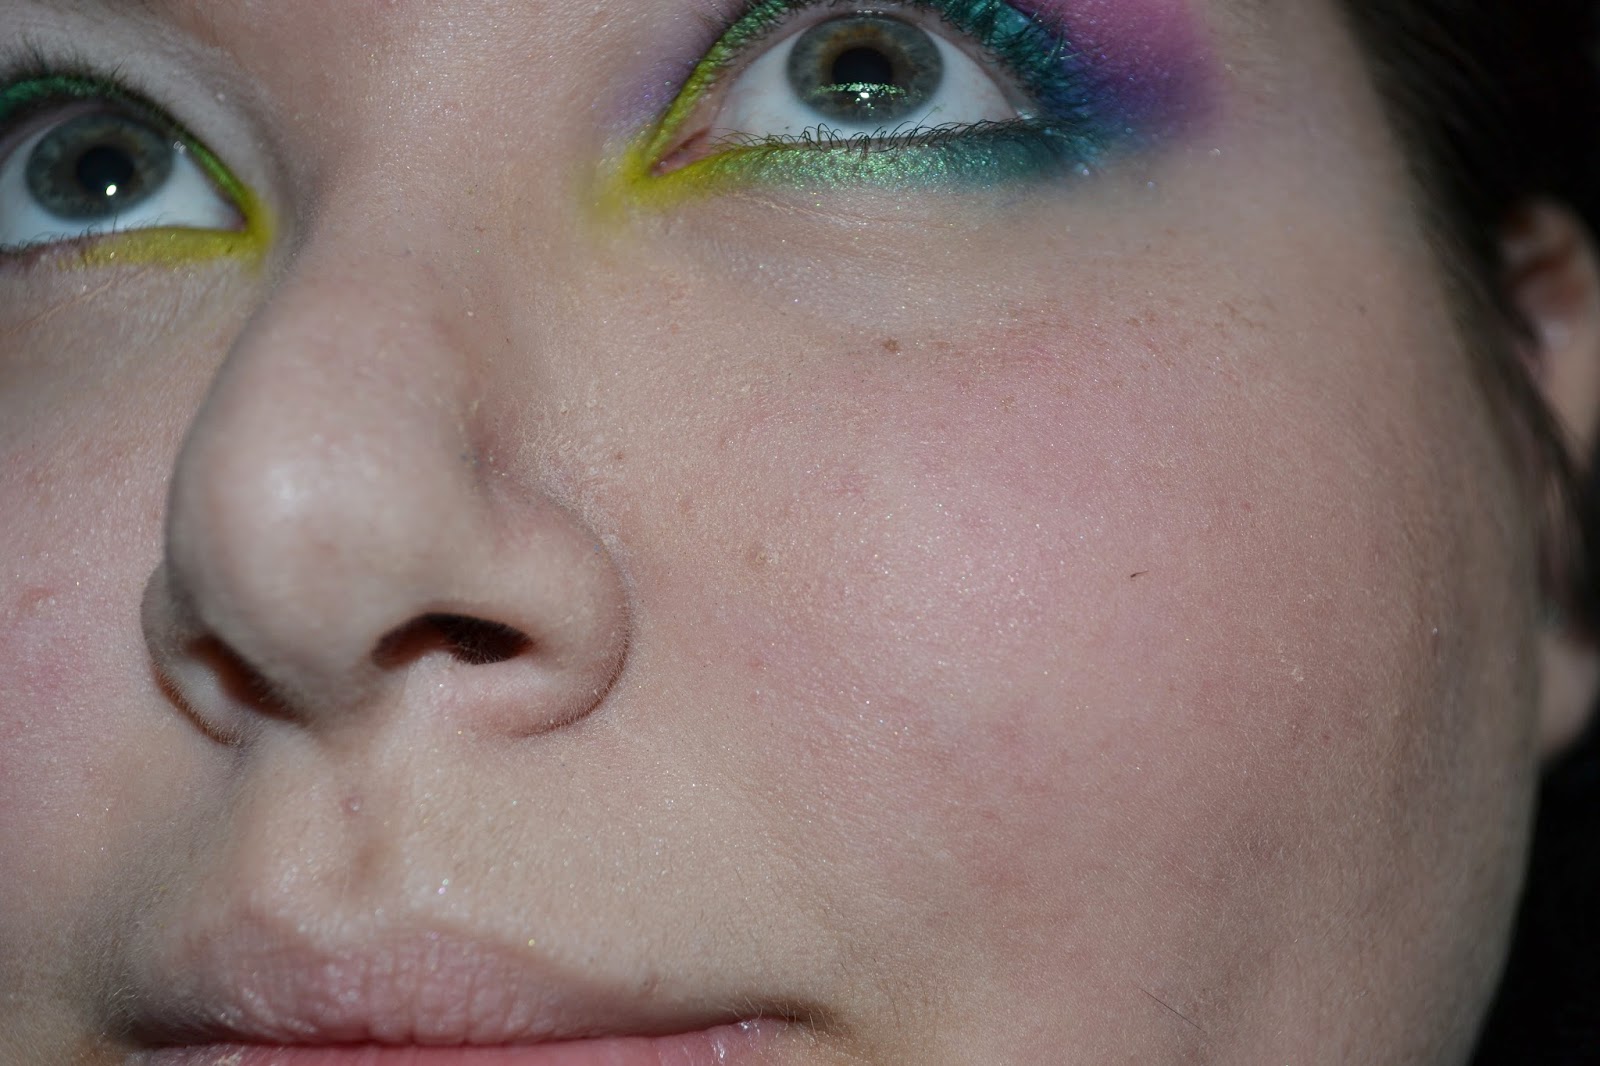
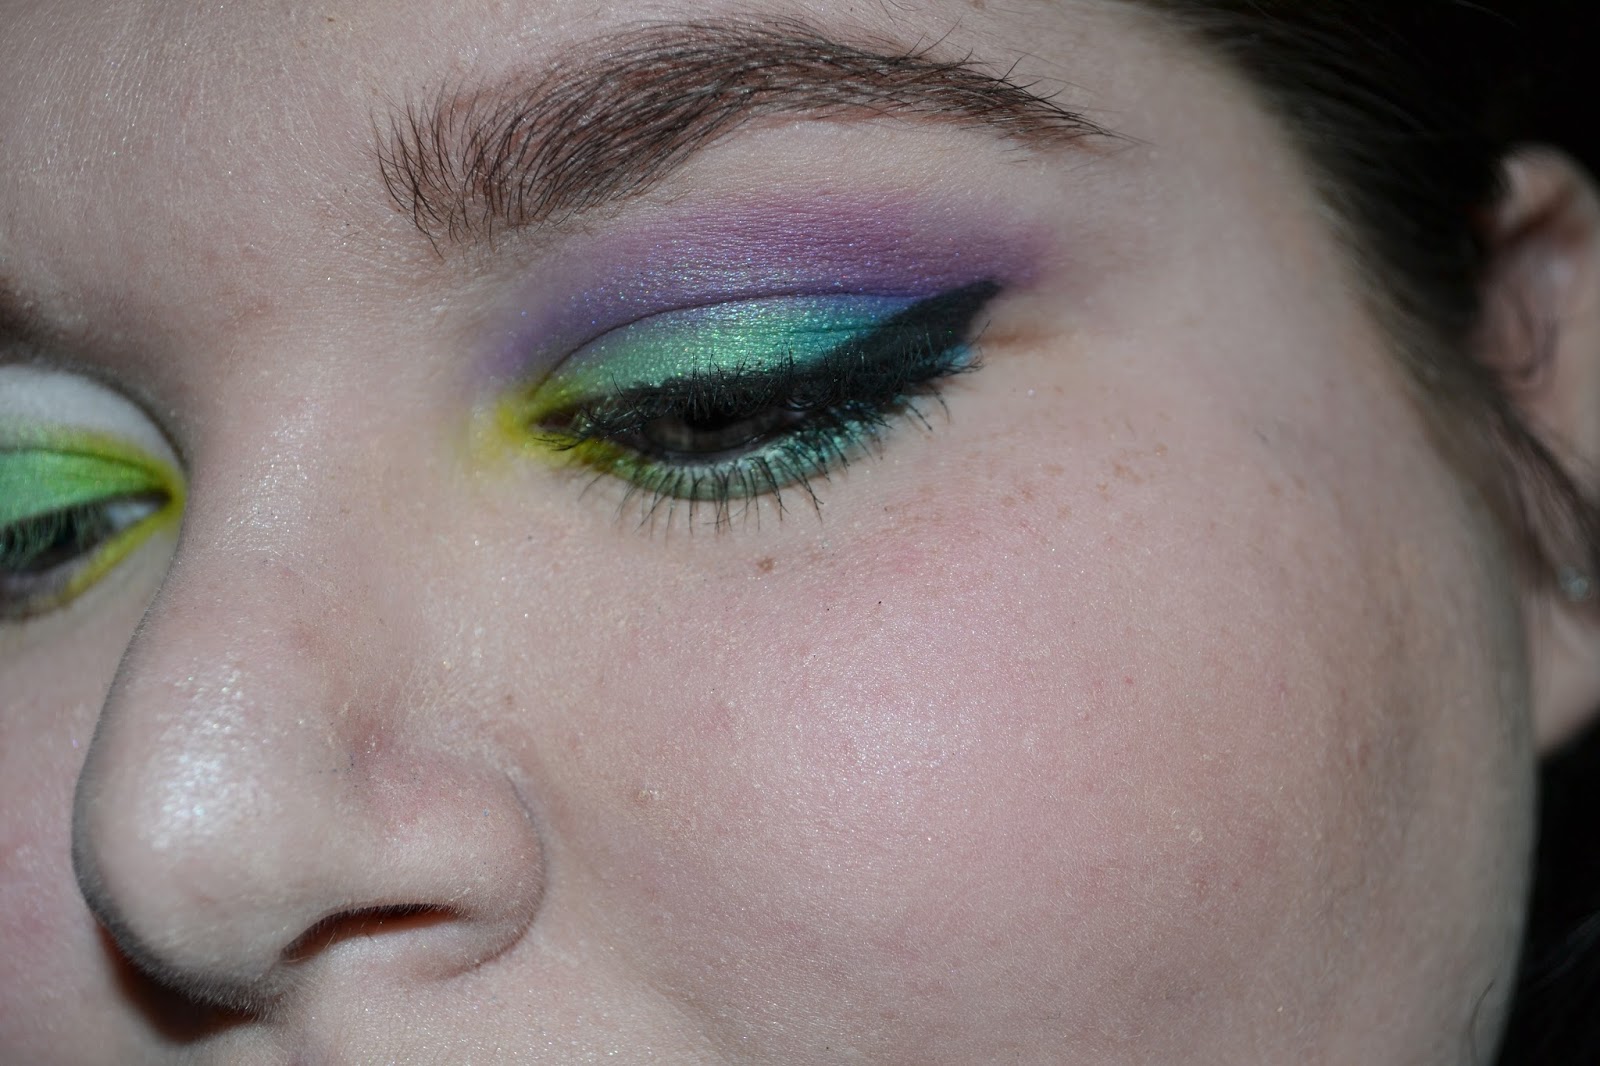
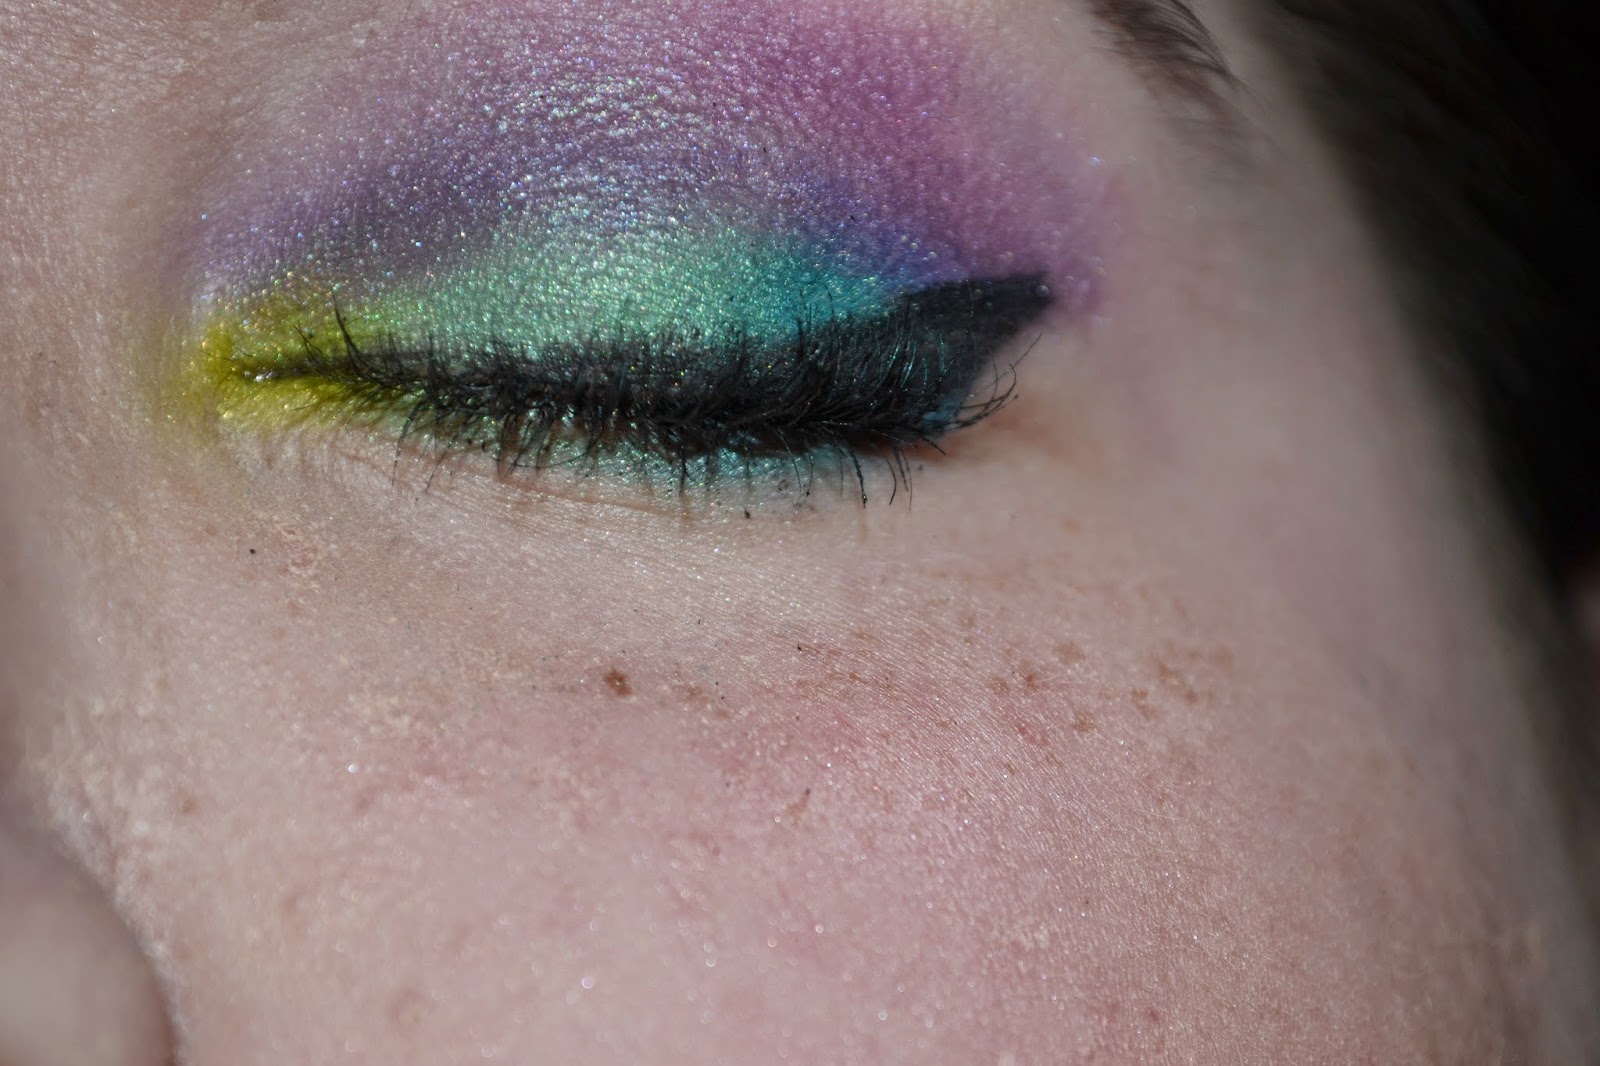
Urban Decay Electric Pressed Pigment Palette Eyeshadow Tutorial

Hey guys! It's been a while since I've done a tutorial, but the Electric palette from Urban Decay has inspired me again :) So let's stop the chit chat and get started! All the products I use will be listed as I go.

First start off with a clean eye and prime with an eyeshadow primer. I used Urban Decay Primer Potion. Then you want to use a white cream base to make these bright shadows pop. I used NYX Jumbo Eye Pencil in Milk.


Then I added Freak to the eyelid with a flat shader brush. Do not go above the crease with this color.


Next I added Thrash to the inner corner and blended it into Freak.


Next I added Gonzo to the outer third of my eye. This picture will be before I blended it.


And now taking a clean fluffy brush, I blended Gonzo in Freak and added color and blended over and over until I was happy with the saturation.


Then I took Urban on a small pencil brush and mapped out where I wanted the color and then I took another clean brush and blended it upward towards the browbone.


Taking that same blending brush, I picked up a little of Jilted and blended that into and a little above Urban.


Next on an angled brush I put fringe on the outer half of the lower lash line.


And then I took Freak and put it in the middle of the lower lash line blending it into Fringe and Freak.


After adding some final touches like gel liner on the upper lash line, mascara, and bright pink lipstick, you are done! Here are some pictures of the finished look.


Thanks for reading!

Monday, May 26, 2014

Urban Decay Electric Pressed Pigment Palette Review & Swatches

Hey guys! I'm so excited today because I am here to review Urban Decay's Electric Pressed Pigment Palette. This palette consists of 10 pressed pigments that are insanely pigmented and bright and a double ended brush. Before I want to start this review, I have to point out that a few of the shades are not intended for immediate eye area. Those colors include: Slowburn, Savage, Jilted, and Urban. The reason why you can't use them in your eye area is because they are some of the brighter colors. If you have sensitive eyes, I would not recommend using those colors on your eyelid, or around you eye. But if you do not have sensitive eyes, I believe it would be okay. So lets start reviewing the colors! Starting at the top left, Revolt is a bright silver shade. It has tiny silver specks of glitter which are prone to fall out. If you tap off your brush, it doesn't fall out too bad though. It's one of the rougher shades that are not as smooth, but it has good staying power. The next color is Gonzo which is a matte turquoise with a silver pearl finish. It is very soft and blends beautifully. Slowburn is next and it is an orange red matte, with almost a peachy pearl finish in the pan. On the eye, its a lot more matte and very soft. Next is Savage which is a very hot pink matte, but is one of the drier shades, but still blends okay. The last shade on the top is Fringe which is a metallic teal. It's a great shadow, but one of my least favorites. The first shade on the bottom is Chaos which is a cobalt matte blue. This shade is amazing. It is a little dry, but blends really well. It is definitely an uncommon shade. Jilted is next and it is a bright fuchsia which a blue shift to it. It is very soft and blends well. Next is Urban and it is a bright shimmery grape purple. It has pink undertones and looks really well with green eyes. Next to last is Freak which is a very light green with yellow gold shift. It is one of the softest colors and blends very very well. Finally we have Thrash which is a lime green matte with a gold hue. It is a little dry but still blends on the eye. If you would like to buy this palette, you can for $49 here. Now lets see some pictures!


Top Row


Bottom Row


Thanks for reading!

Disclaimer - This product was not sent to me, I purchased with my own money. 

Monday, February 3, 2014

Sultry Valentines Day Eyeshadow Tutorial Using Naked 3 Palette

Hey guys! I'm here with a fun, night out, Valentines Day eyeshadow tutorial using the Urban Decay Naked 3 palette. I will list the products I used as I go, so let's get started!

First start with a clean eye and smooth on a dark purple cream eyeshadow. I used Maybelline Color Tattoo in Pomegranate Punk and my finger.


Next I added the color Factory all over my lid with a large flat shading brush.


Next, using a small precision brush, I created the shape I wanted for my outer corner/crease with the color Blackheart.


Then added color little by little I blended it in. Kind of like a soft cut crease.


To make my eye pop I picked up the shadow Dust on a small flat shader brush and sprayed it with MAC Fix Plus to make it almost metallic and I applied this to the very center on my eyelid.


I added the color Strange to my brow bone with a fluffy brush and then with an angled brush, I went back to the color Factory and smudged it under my lash line to the middle.


Finally I added Stila Stay All Day Liquid Eyeliner in Black to the top lash line and Benefit They're Real mascara and you're done!


Thanks for reading!

Tuesday, January 21, 2014

Smokey Eye Tutorial featuring Naked 2 Palette

Hey guys! I'm here with a heavy smokey eye tutorial using the Naked 2 palette from Urban Decay. I love playing with all three palettes, mixing and matching the colors. I will list every color and product I use as I go, so keep an eye out for that. Let's get started.

First start with a primed eye. I used Urban Decay Primer Potion. Then I blended Tease in the crease with a large fluffy brush. This doesn't have to be perfect, it's just a nice transition color.


Then with a flat shader brush, I added Verve all over the lid. Mainly focusing it on the inner and middle of the lid. And let me just say, this is my favorite color in this palette. It is so gorgeous.


The with a medium size brush I focused the color Pistol in the outer lid, not going in the crease though.


Then very carefully, I repeat very carefully, I added Blackout to the crease and outer V. I added this color bit by bit and softy blended it as I went. I also took the color on my lower lash line going a little thicker than usual.


Next I added Foxy to the brow bone and thick black gel liner on the top lash line. And white liner in the water line. Nothing fancy.


Finally I finished off this look with lashes from Eco Tools. I believe they are called Wispy & Flared. \


Thanks for reading!

Friday, December 13, 2013

Urban Decay Naked3 Rosy Neutral Eyeshadow Tutorial

Hey guys! I'm here today with a rosy neutral eyeshadow tutorial using the Urban Decay Naked 3 palette. A.k.a - Best palette ever created. Let's get started.

First prime your eye. I used Sin from Urban Decay.


Then I added Buzz all over the lid.


And then blended Mugshot in the crease and Darkside in the outer corner. Blend blend blend.


Next I added Strange to my brow bone and in the inner corners to highlight and brighten everything up. And then I mixed Darkside and Mugshot and added them to the bottom lashline keeping very close to the lashes.


To finish I used a black gel liner on my upper lash line, a black pencil liner in my waterline, and added mascara. On my lips I'm wearing Burt's Bees Tinted Lipbalm in Pink Blossom.


Thanks for reading!