Hey guys! I'm here for a quick smokey eye I've been doing a lot lately for the fall time. I'll list all the products used at the end. Let's get started!
First prime you eye and add a dark brown with golden shimmer.
Then blend a light matte brown around the crease to blend the color out.
Next I added a slightly darker brown, again with some golden shimmer in the crease.
Then add a gold right in the middle of your lid, and a light soft cream golden shade to your inner corner and browbone.
Finally I added a dark matte brown gel liner, mascara, and false lashes!
Thanks for reading this short tutorial! Happy holidays :)
FACE:
Smashbox Photo Finish Foundation Primer
Urban Decay Urban Defense Tinted Moisturizer - Bodyguard
Hard Candy Glamoflauge - Medium/Light
Revlon Nearly Naked Powder - Light
Anastasia Contour Powder - Banana
CHEEKS:
Buxom Hot Escapes Bronzer - Tahiti
NARS Blush - Orgasm
Benefit High Beam
Anastasia Contour Powder - Sand
BROWS:
Anastasia Dipbrow Pomade - Chocolate
EYES:
MAC Paint Pot - Painterly
Urban Decay Naked Palette - Smog, Darkhorse, Naked, Half Baked
MAC Pigment - Vanilla
Unknown brand of gel liner
Ardell Demi Wispies
Just a southern girl blogging about her obsession. Contact info: Twitter - @mmaegantubbss Email - maegantubbs@gmail.com
Showing posts with label dark. Show all posts
Friday, October 24, 2014
Friday, August 8, 2014
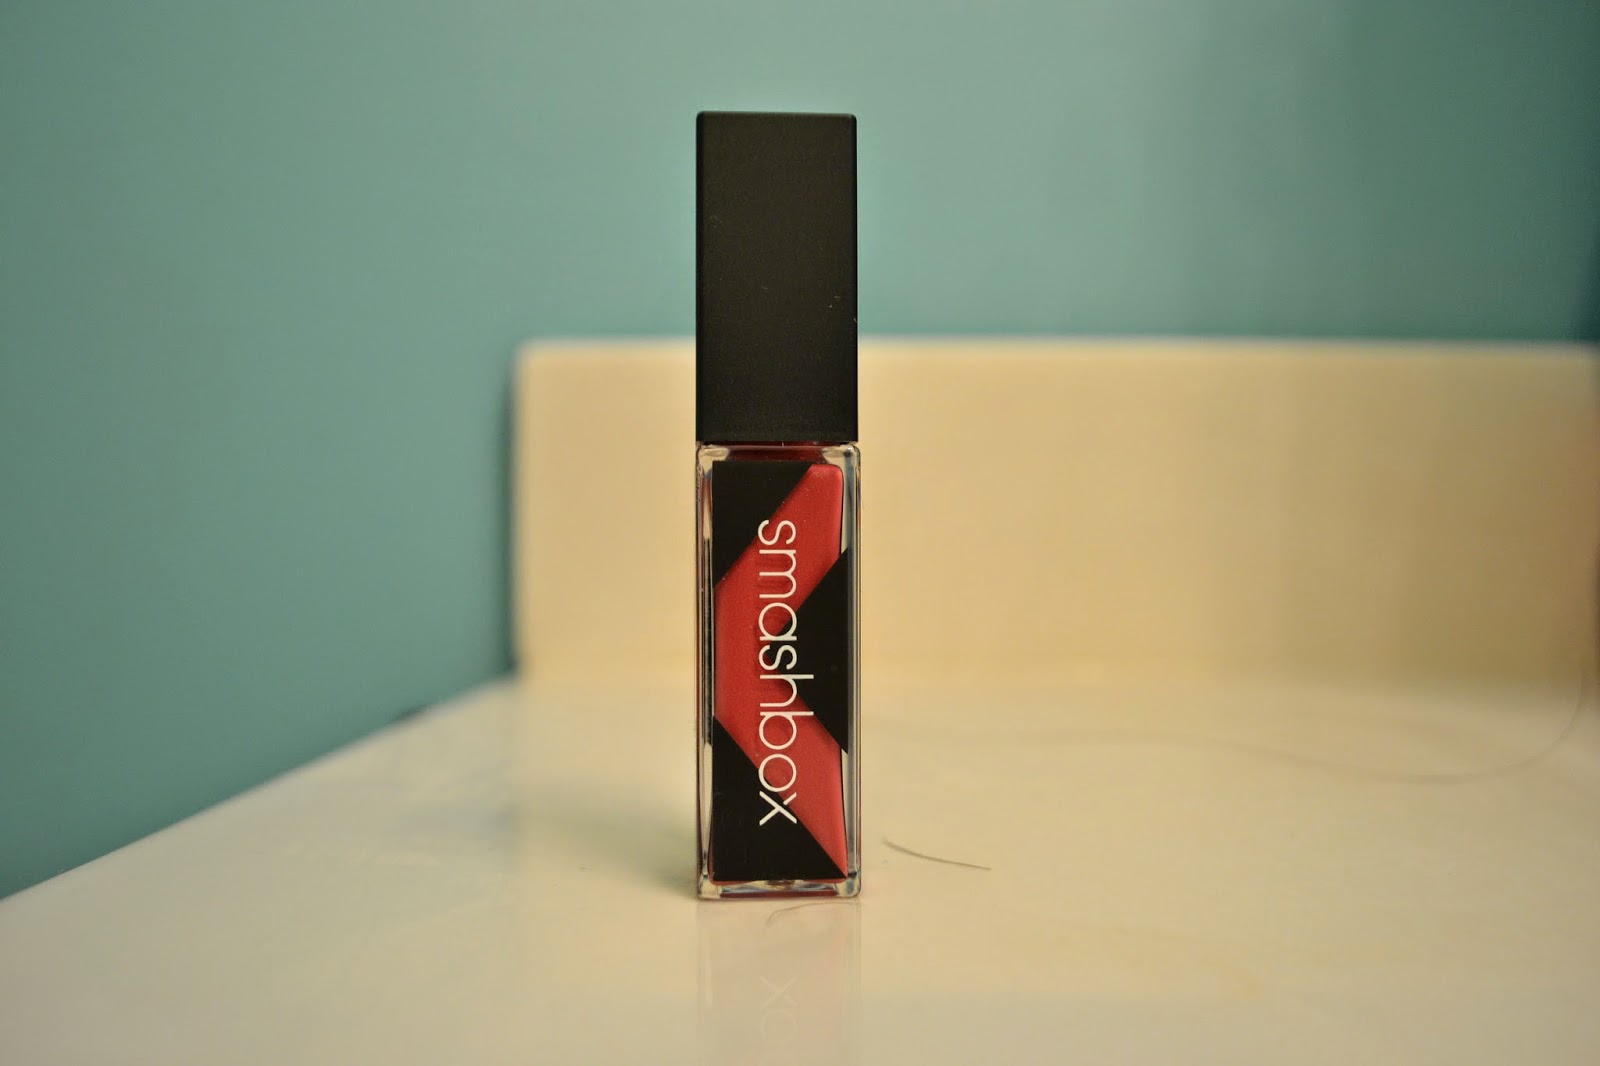
Smashbox Be Legendary Long Wear Lip Lacquer Review, Pictures, and Swatches
Hey guys! I'm here today to review the Smashbox Lip Lacquer in Fuchsia. This product is described as a long wear lip hybrid formula, and I have to agree. It goes on like a gloss, but stays on like a lipstick. It stayed on my lips all day, even through lunch. I barely had to touch up. It is not at all sticky, and this color had a little shimmer to it, which looked beautiful. The color was a darker pink fuchsia. The applicator is a sponge in an hourglass shape, which is flat. I don't really like it, but it gets the job done so it doesn't really matter. It's very pigmented and hydrating almost, it does not dry your lips out at all. If you're hesitant to buy this because you don't like lipgloss, I urge you to try it because it is not like a gloss at all. If you would like to purchase this, you can for $24 here.
Thanks for reading!
Disclaimer - This product was not sent to me.
Thanks for reading!
Disclaimer - This product was not sent to me.
Friday, June 27, 2014
DiorShow Liner Waterproof Review, Pictures, and Swatches
Hey guys! I'm here today with a review of DiorShow Liner Waterproof in Plum. This is a pencil eyeliner that has a really creamy formula with great color payoff. And since it's waterproof, it doesn't fade. At all. The only way to get this liner off is with makeup remover. I really like that about it because I know my liner won't fade. One of my favorite favorite things about this product is that even though it is a retractable pencil, it has a sharpener on the other end, just so you can keep the point of the liner sharp and precise. And it doesn't waste a ton of product like some sharpeners like that do. The product just glides on and doesn't skip and I can line my upper lash line in 2 swipes. Seriously! Great color payoff also. Plum is a dark grape color with no shimmer, very matte. And when you apply it, you can smudge it quickly but when it dries, it is not going to move. I love this liner and would love to try more colors. I probably will buy the dark brown one next. I think it is definitely worth the price tag. If you would like to purchase this product you can here for $29.
Thanks for reading!
Disclaimer - This product was not sent to me. I purchased with my own money.
Thanks for reading!
Disclaimer - This product was not sent to me. I purchased with my own money.
Tuesday, January 21, 2014
Smokey Eye Tutorial featuring Naked 2 Palette
Hey guys! I'm here with a heavy smokey eye tutorial using the Naked 2 palette from Urban Decay. I love playing with all three palettes, mixing and matching the colors. I will list every color and product I use as I go, so keep an eye out for that. Let's get started.
First start with a primed eye. I used Urban Decay Primer Potion. Then I blended Tease in the crease with a large fluffy brush. This doesn't have to be perfect, it's just a nice transition color.
Then with a flat shader brush, I added Verve all over the lid. Mainly focusing it on the inner and middle of the lid. And let me just say, this is my favorite color in this palette. It is so gorgeous.
The with a medium size brush I focused the color Pistol in the outer lid, not going in the crease though.
Then very carefully, I repeat very carefully, I added Blackout to the crease and outer V. I added this color bit by bit and softy blended it as I went. I also took the color on my lower lash line going a little thicker than usual.
Next I added Foxy to the brow bone and thick black gel liner on the top lash line. And white liner in the water line. Nothing fancy.
Finally I finished off this look with lashes from Eco Tools. I believe they are called Wispy & Flared. \
Thanks for reading!
First start with a primed eye. I used Urban Decay Primer Potion. Then I blended Tease in the crease with a large fluffy brush. This doesn't have to be perfect, it's just a nice transition color.
Then with a flat shader brush, I added Verve all over the lid. Mainly focusing it on the inner and middle of the lid. And let me just say, this is my favorite color in this palette. It is so gorgeous.
The with a medium size brush I focused the color Pistol in the outer lid, not going in the crease though.
Then very carefully, I repeat very carefully, I added Blackout to the crease and outer V. I added this color bit by bit and softy blended it as I went. I also took the color on my lower lash line going a little thicker than usual.
Next I added Foxy to the brow bone and thick black gel liner on the top lash line. And white liner in the water line. Nothing fancy.
Finally I finished off this look with lashes from Eco Tools. I believe they are called Wispy & Flared. \
Thanks for reading!
Wednesday, January 15, 2014
Dior Rosy Tan Eyeshadow Tutorial
Hey guys! I'm here today with a very simple, everyday eyeshadow tutorial using the Rosy Tan palette by Dior. I will list the products I use as I go, so let's get started!
First prime your eye. I used the matte light cream shadow from Revlon's Not Just Nudes quad.
Next I added the matte taupe/brown shade in the bottom right to my entire lid.
Then I blended the silvery taupe in the bottom left in my crease. I also wet my brush just a little bit to give the shadow more intensity.
Next I added the chocolate brown in the top left corner into the outer corner. And then with a clean brush I blended the outer shadows to soften the crease.
Then to give the look more sparkle, with a flat brush I took the shimmery pearl shadow in the middle and patted it in the middle of my lid. I also added with whatever was left on the brush, to my brow bone to highlight.
Finally add a thin line of black eyeliner and mascara and you are done!
Thanks for reading!
First prime your eye. I used the matte light cream shadow from Revlon's Not Just Nudes quad.
Next I added the matte taupe/brown shade in the bottom right to my entire lid.
Then I blended the silvery taupe in the bottom left in my crease. I also wet my brush just a little bit to give the shadow more intensity.
Next I added the chocolate brown in the top left corner into the outer corner. And then with a clean brush I blended the outer shadows to soften the crease.
Then to give the look more sparkle, with a flat brush I took the shimmery pearl shadow in the middle and patted it in the middle of my lid. I also added with whatever was left on the brush, to my brow bone to highlight.
Finally add a thin line of black eyeliner and mascara and you are done!
Thanks for reading!
Thursday, January 2, 2014
Medusa's Makeup Lipstick, Eye Dust, and Glitter Reviews and Swatches
Hey guys! I'm here today with a review of Medusa's Makeup Lipstick, Eye Dust, and Glitter. This makeup brand produces high quality makeup with bright and fun colors! It is produced in the US and is vegan! I love makeup companies that doesn't test on animals. They have a huge color variety with their eye dusts and glitters. I want all of them! So let's start with the reviews.
Lipstick - $12
The color I received is Triple X which is a bright fuchsia. It has one of the most creamy formulas I've ever tried! It glides on so easily and has amazing pigmentation. When I tried to wipe it off my arm, you could still see it was there. The staying power is awesome! And it has to most adorable packaging ever! I love this lipstick and you should too. You can purchase here.
Without flash
With Flash
Eye Dust - $7
The color I received is Volcano and I would describe it as a dark burgundy with lots of shimmer. Which is not a bad thing! The pigmentation of this color blew me away. The powder is incredibly soft and blends like no other. The color also makes my green eyes pop! I seriously want all of them. You can purchase here.
Glitter - $7
The color I received is AK 47 which is a black with rainbow glitter. Did your heart just flutter, because mine did. This color is SOOO pretty. I love that you can use their glitters on your eyes, face, lips, hair, anywhere! I cannot wait to use this under a black base. You can purchase here.
I totally recommend this makeup brand and can't wait to but from them again! You can go to their website here - http://www.medusasmakeup.com/
Thanks for reading!
Disclaimer - Some of these products were provided by Medusa's Makeup.
Lipstick - $12
The color I received is Triple X which is a bright fuchsia. It has one of the most creamy formulas I've ever tried! It glides on so easily and has amazing pigmentation. When I tried to wipe it off my arm, you could still see it was there. The staying power is awesome! And it has to most adorable packaging ever! I love this lipstick and you should too. You can purchase here.
Without flash
With Flash
Eye Dust - $7
The color I received is Volcano and I would describe it as a dark burgundy with lots of shimmer. Which is not a bad thing! The pigmentation of this color blew me away. The powder is incredibly soft and blends like no other. The color also makes my green eyes pop! I seriously want all of them. You can purchase here.
Glitter - $7
The color I received is AK 47 which is a black with rainbow glitter. Did your heart just flutter, because mine did. This color is SOOO pretty. I love that you can use their glitters on your eyes, face, lips, hair, anywhere! I cannot wait to use this under a black base. You can purchase here.
I totally recommend this makeup brand and can't wait to but from them again! You can go to their website here - http://www.medusasmakeup.com/
Thanks for reading!
Disclaimer - Some of these products were provided by Medusa's Makeup.
Saturday, December 21, 2013
My Eyebrow Routine
Hey guys! Today I'm here with a tutorial on how I do my eyebrows. I'll mention the products throughout the tutorial so keep an eye out for those. Always remember that eyebrows are sisters, not twins. Let's get started!
P.S. I'm wearing eyeshadows from the Naked 3 palette, so if you want a tutorial on them, let me know in the comments!
First start with a clean brow (duh) and I fill in the first little part of my brow (you can see where I stop) with a lighter color than my brows really are and make sure the lines are nice and sharp. I used Make Up For Ever Aqua Brow in 15 and an angled liner brush.
Then I fill in the brow to the arch with a dark powder. I make sure the lines are straight and pretty, then I blend with the first part of my brow. I used Sexpresso from the Too Faced Natural Eye palette and the same angled brush.
Next is pretty simple. I just fill in the 'tail' part of my brow with the same dark brown shadow and brush.
Finally I set it with a brow gel. I used Elf Wet Gloss.
Thanks for reading!
P.S. I'm wearing eyeshadows from the Naked 3 palette, so if you want a tutorial on them, let me know in the comments!
First start with a clean brow (duh) and I fill in the first little part of my brow (you can see where I stop) with a lighter color than my brows really are and make sure the lines are nice and sharp. I used Make Up For Ever Aqua Brow in 15 and an angled liner brush.
Then I fill in the brow to the arch with a dark powder. I make sure the lines are straight and pretty, then I blend with the first part of my brow. I used Sexpresso from the Too Faced Natural Eye palette and the same angled brush.
Next is pretty simple. I just fill in the 'tail' part of my brow with the same dark brown shadow and brush.
Finally I set it with a brow gel. I used Elf Wet Gloss.
Thanks for reading!
Subscribe to:
Posts (Atom)