Showing posts with label orange. Show all posts

Monday, May 26, 2014

Urban Decay Electric Pressed Pigment Palette Review & Swatches

Hey guys! I'm so excited today because I am here to review Urban Decay's Electric Pressed Pigment Palette. This palette consists of 10 pressed pigments that are insanely pigmented and bright and a double ended brush. Before I want to start this review, I have to point out that a few of the shades are not intended for immediate eye area. Those colors include: Slowburn, Savage, Jilted, and Urban. The reason why you can't use them in your eye area is because they are some of the brighter colors. If you have sensitive eyes, I would not recommend using those colors on your eyelid, or around you eye. But if you do not have sensitive eyes, I believe it would be okay. So lets start reviewing the colors! Starting at the top left, Revolt is a bright silver shade. It has tiny silver specks of glitter which are prone to fall out. If you tap off your brush, it doesn't fall out too bad though. It's one of the rougher shades that are not as smooth, but it has good staying power. The next color is Gonzo which is a matte turquoise with a silver pearl finish. It is very soft and blends beautifully. Slowburn is next and it is an orange red matte, with almost a peachy pearl finish in the pan. On the eye, its a lot more matte and very soft. Next is Savage which is a very hot pink matte, but is one of the drier shades, but still blends okay. The last shade on the top is Fringe which is a metallic teal. It's a great shadow, but one of my least favorites. The first shade on the bottom is Chaos which is a cobalt matte blue. This shade is amazing. It is a little dry, but blends really well. It is definitely an uncommon shade. Jilted is next and it is a bright fuchsia which a blue shift to it. It is very soft and blends well. Next is Urban and it is a bright shimmery grape purple. It has pink undertones and looks really well with green eyes. Next to last is Freak which is a very light green with yellow gold shift. It is one of the softest colors and blends very very well. Finally we have Thrash which is a lime green matte with a gold hue. It is a little dry but still blends on the eye. If you would like to buy this palette, you can for $49 here. Now lets see some pictures!


Top Row


Bottom Row


Thanks for reading!

Disclaimer - This product was not sent to me, I purchased with my own money. 

Friday, December 20, 2013

NARS Blush in Madly Review and Swatches

Hey guys! I'm here today with a review of NARS Madly Blush. It's described as a 'seashell pink' which I don't think fits very well. It's more of a light medium brown with peach and orange tones. I know that doesn't sound pretty to some people, but it is gorgeous. It doesn't have a lot of shimmer, more of a sheen to it and goes on really really smooth. It looks great on my pale skin but I think it would look absolutely amazing on more tan skin. This is definitely an everyday blush to throw on and it will look good with whatever other makeup you have on. I love it and for $28 you can buy it here, or here. Now onto pictures!


Thanks for reading!

Disclaimer - This product was not sent to me. I purchased with my own money.

Sunday, November 10, 2013

Autumn Eyeshadow Tutorial

Hey guys! I'm here today with a autumn/fall tutorial. Fall is my favorite time of the year and I love all the makeup looks that come with it! So here is my everyday autumn makeup :) Products will be listed below. Let's get started!

First prime your eyelid with a primer. Then cover your lid with a cream or pencil liner that is a light gold color. I used an eye pencil.


Then put a gold eyeshadow all over your lid.


Then add a matte orange to the outer 3rd and then blend a dark purple in the crease.


Next add the dark purple on the lower part of your lashes and only to the outer corner to the middle and at the middle blend the light gold to the inner corner. Finally add a matte cream color as your highlight on your brow bone.


After you add gel liner to the top lash line, black pencil liner to the water line, and mascara you're done!


Thanks for reading!

Products used


  • LORAC Pro Palette
  • Covergirl Clump Crusher mascara
  • NYX Jumbo Eye Pencil in Cashmere
  • Urban Decay 24/7 Glide On Eye Pencil in Perversion
  • Urban Decay Eyeshadow Primer Potion
  • MAC Saffron Eyeshadow
  • Maybelline Gel Liner in Espresso

Opened. Eyeshadow used are in orange boxes


Saturday, August 3, 2013

Sunset Makeup Tutorial

Hey guys! Today I am doing a Sunset makeup tutorial inspired by the sunsets at the beach! So let's get started. All the products used will be listed at the end.

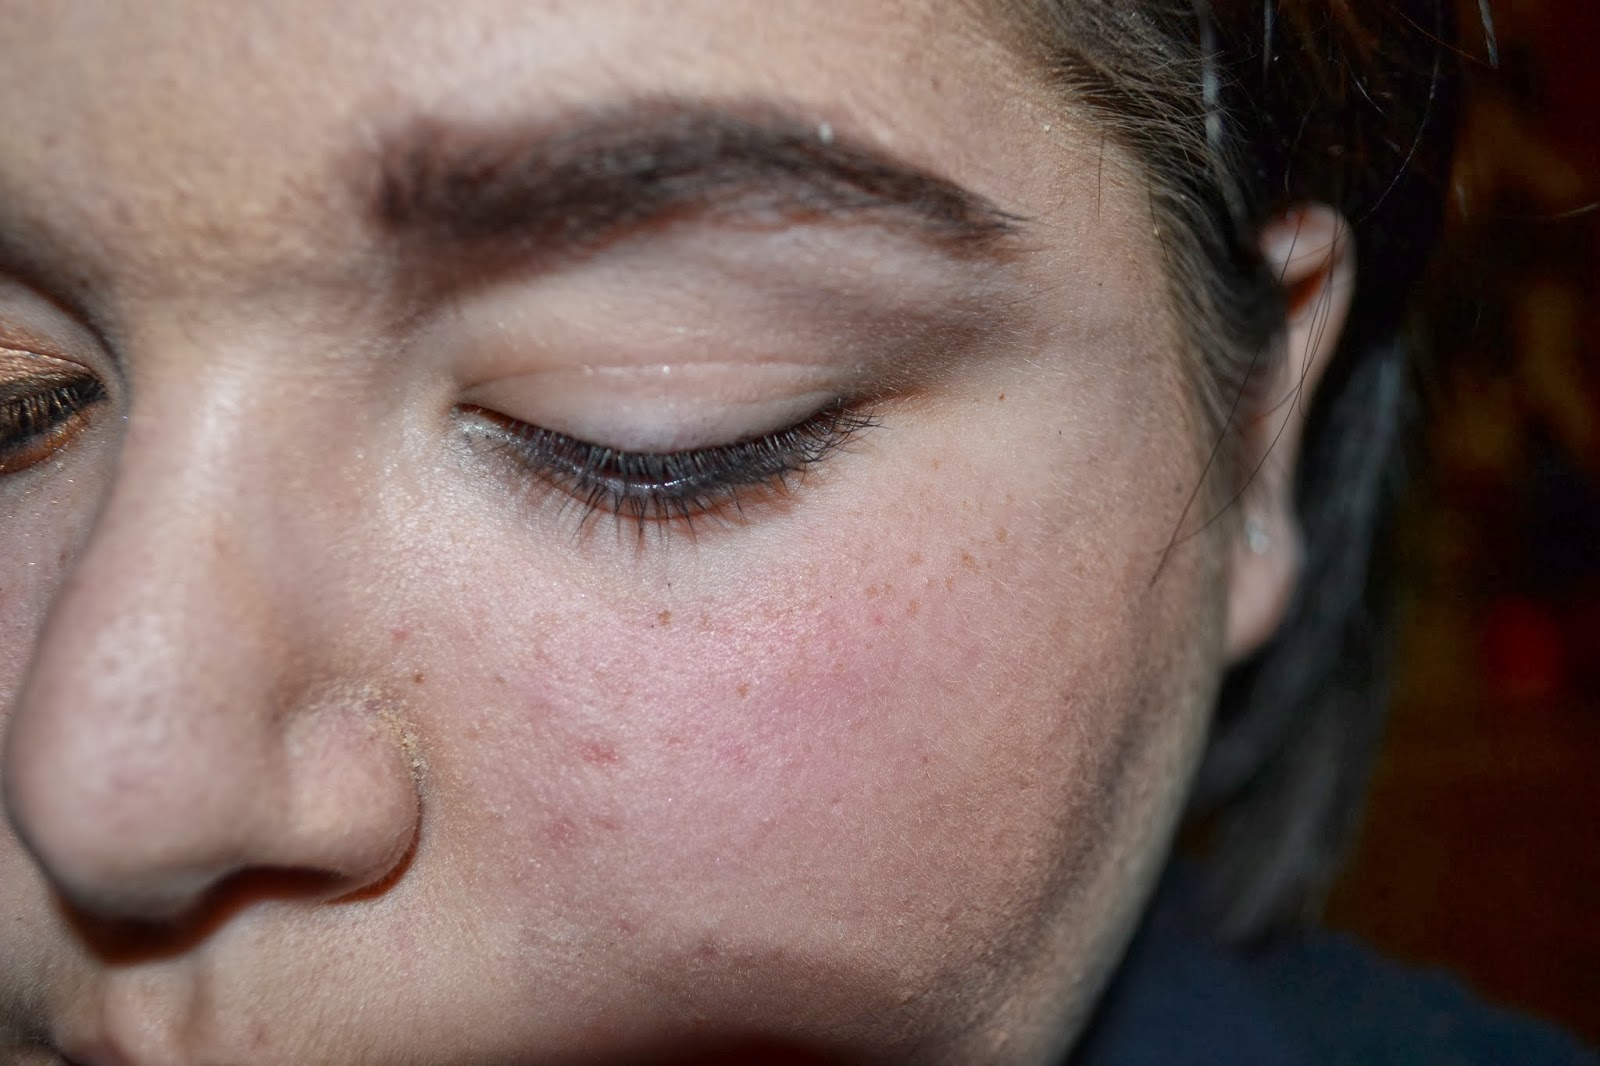
First start with a clean face. All I have on is moisturizer.
Foundation
Concealer (LOVE this step. Makes acne seem like it was never there)
Blush, bronzer, and highlighter
Now onto the eyes. First step is to prime with a white eyeshadow pencil because you want your colors to pop!
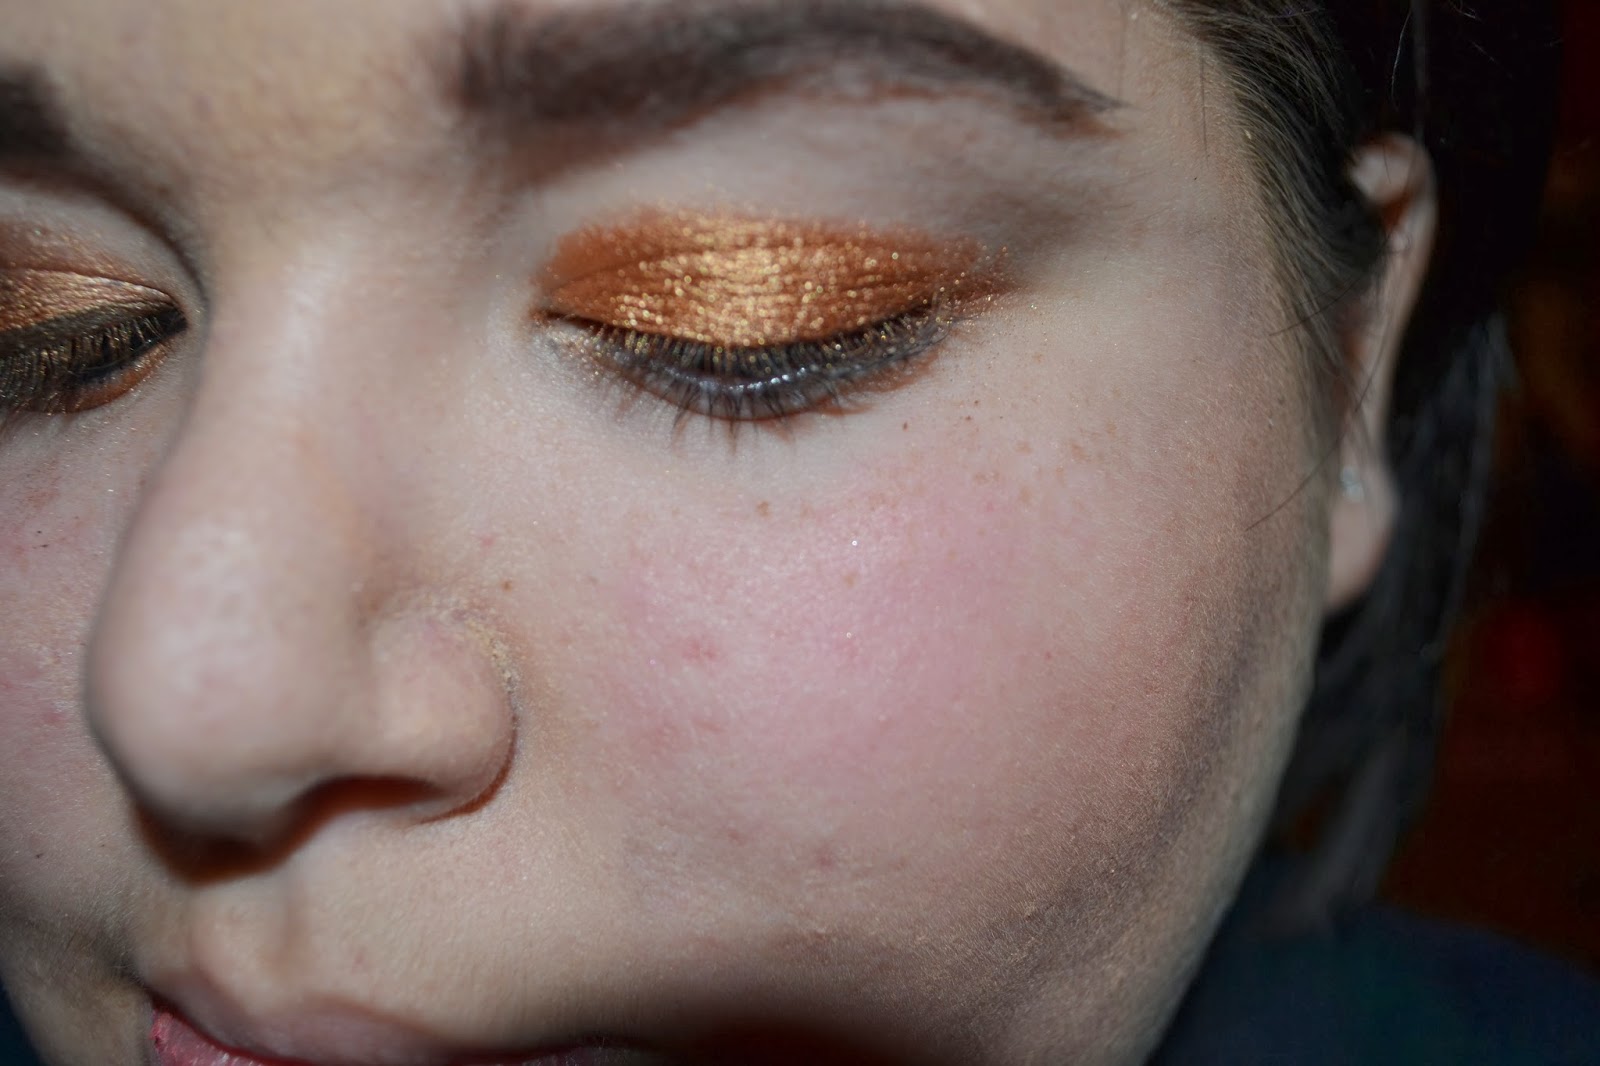
Then add your orange color to your lid. Well, mine is kind of a dark, burnt orange.
Then I blended a dark purple.
Then I added black liner to my upper lash line and waterline. And then mascara.

And then add a sheer peach lipcolor (or a bright one!) and you're done!

Thanks for reading!

Face products

  • Catrice Defining Blush in Love & Peach
  • Too Faced Milk Chocolate Soleil
  • Maybelline Dream Matte Powder in Sand
  • MAC Mineralized Skin Finish in Soft and Gentle
  • Ulta Matte Finish Mousse Foundation in Light Ivory
  • Hard Candy Glamoflauge in Medium/Light
  • Sonia Kashuk Small Stippling Brush - No. 124
  • Ecotools Angled Brush
  • Arbonne Facial Application Brush
  • Smashbox Brush in No. 1


Eye and Lip Products

  • Maybelline Gel Liner in Espresso 
  • Maybelline The Falsies Flared Mascara
  • NYX Jumbo Eye Pencil in Milk
  • Urban Decay 24/7 Glide On Eye Pencil in Perversion
  • Tarte Eyeliner Brush
  • Arbonne Eye Shadow Brush
  • Revlon Lip Butter in Juicy Papaya


Eyeshadow (The ones I used are in the green boxes)