Showing posts with label mascara. Show all posts

Sunday, March 1, 2015

Benefit Roller Lash Mascara Review and Pictures

Hey guys! Today I am reviewing the new Roller Lash mascara by Benefit. Sephora's website says it will create long lashes while curling them. First of all, the packaging is super adorable. It is a black handle and the top is a pale peach which a wide fishnet design. I love it. It's not too heavy either. The wand has very tiny silicone bristles and is slightly curved. I like how tiny it is because you can get to the very root of your lashes without the mascara smudging everywhere. Even though the bristles are tiny, I feel like they have a good grip on your lashes as you apply the product.

The actual formula performs very well. If you have ever used the more popular mascara 'They're Real' by Benefit, you would know how wet and goopy that formula is. This one is also wet, but is nowhere near as goopy and messy. When you apply this mascara, it will instantly cling to your lashes and stay there. It does not smudge at all, it's great! After all day wear, there was no mascara smudges or flakes under my eyes, which is unusual. I was a bit worried it would be hard to come off, but it wasn't! I used Benefit's 'They're Real' cream makeup remover and it just slid right off. It literally took half the time to take off this mascara than it does with other ones. The color is also a dark inky black that makes your lashes look thick and lush. It really curls by lashes and holds the curl. In the pictures I took, I did not curl my lashes with a lash curler. After two coats, it did make my lashes a bit clumpy, so after I took the pictures, I did have to separate my lashes with a lash comb. It lengthened my top lashes quite a bit. but the real length was in my bottom lashes! They looked amazing. I highly recommend you try this mascara. If you would, you can for $24 here.


No Mascara


One Coat

Two Coats


Thanks for reading!

Disclaimer- This product was not sent to me.

Thursday, June 26, 2014

Diorshow Mascara Review and Pictures

Hey guys! I'm here today with a review of Diorshow mascara in black, which is one of Dior's most popular mascara. I've heard many amazing things about this product and am always looking for the next great mascara. The brush is enormous, a lot bigger than your run of the mill mascara. But I really like that because I feel it really coats each lash. Every time I pull it out of the tube it has a glob of product on the end of the wand, so I have to wipe it off on the tube, but that's no biggy. The formula is not too wet, but not too dry. It's the perfect middle. It curls my lashes and gives them volume and length. I don't know why I've waited so long to try this product. It doesn't even flake off during the day. I seriously have no complaints on this mascara. It is worth every single penny. I urge you to give it a go. If you would like to purchase it, you can here for $25.


No mascara


One coat


Two coats


Thanks for reading!

Disclaimer - This product was not sent to me. I purchased with my own money.

Friday, December 13, 2013

Urban Decay Naked3 Rosy Neutral Eyeshadow Tutorial

Hey guys! I'm here today with a rosy neutral eyeshadow tutorial using the Urban Decay Naked 3 palette. A.k.a - Best palette ever created. Let's get started.

First prime your eye. I used Sin from Urban Decay.


Then I added Buzz all over the lid.


And then blended Mugshot in the crease and Darkside in the outer corner. Blend blend blend.


Next I added Strange to my brow bone and in the inner corners to highlight and brighten everything up. And then I mixed Darkside and Mugshot and added them to the bottom lashline keeping very close to the lashes.


To finish I used a black gel liner on my upper lash line, a black pencil liner in my waterline, and added mascara. On my lips I'm wearing Burt's Bees Tinted Lipbalm in Pink Blossom.


Thanks for reading!

Saturday, December 7, 2013

Winter Wonderland Makeup Tutorial

Hey guys! I'm here today with a winter themed makeup tutorial. For me, this look was just for fun. I wouldn't wear it everyday, but I might for a party! So grab those frosty blue shadows shoved in the back of your makeup drawer and lets get started!

First, start off with a clean lid and add a sparkly white cream shadow to just the lid. I used Maybelline Color Tattoo in Too Cool.


Then add a white shadow over it. I used Sick of Swimmin' from the Ariel palette from Sephora because it is a white with a blue duochrome. It's gorgeous.


Next, blend a bright matte blue in the crease. I used a random blue color from my BH 88 Matte palette.


Then put a darker blue in the crease. I used Blue Lagoon from the Ariel palette. Make sure it's not too dark.


Then add your highlight to the brow bone and inner corner. I used a white glitter bomb shadow.


Next add black liner to the upper lashes and the darkest blue shade to the lower lashes. I used Maybelline Gel Liner and Blue Lagoon again.


Finally I added mascara and went over the black liner with a glitter liner. I used ELF Mascara and Startdust glitter liner.


Thanks for reading!

Sunday, November 10, 2013

Autumn Eyeshadow Tutorial

Hey guys! I'm here today with a autumn/fall tutorial. Fall is my favorite time of the year and I love all the makeup looks that come with it! So here is my everyday autumn makeup :) Products will be listed below. Let's get started!

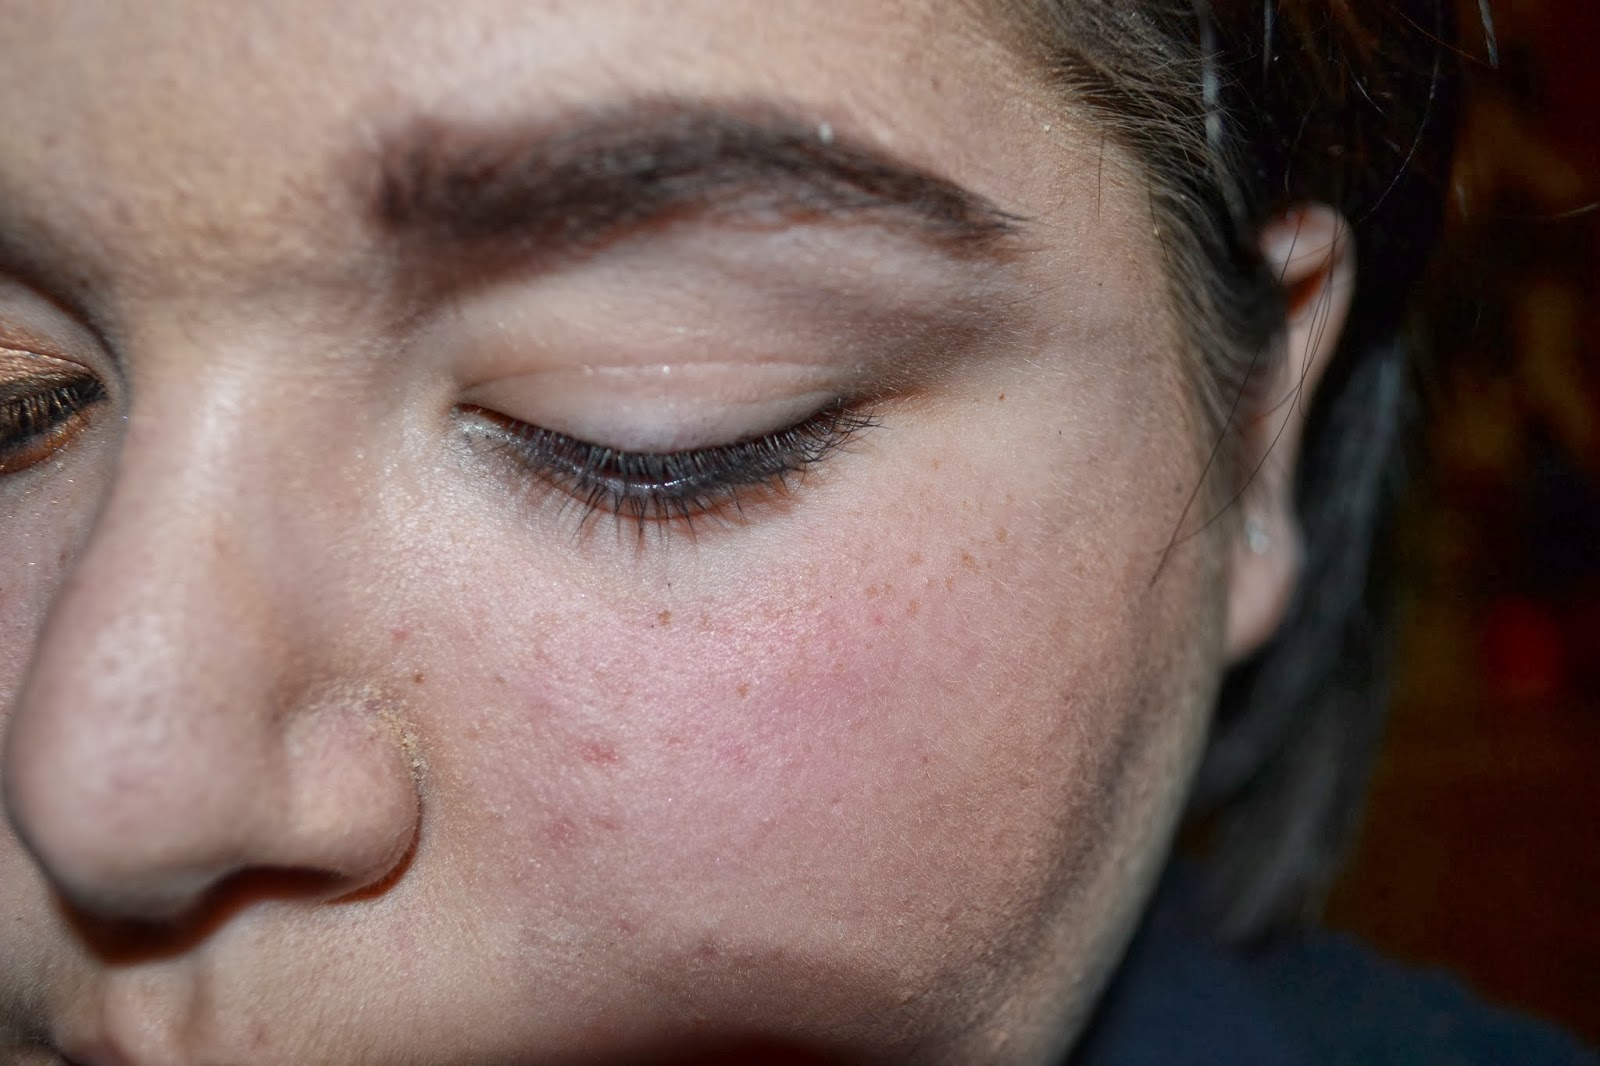
First prime your eyelid with a primer. Then cover your lid with a cream or pencil liner that is a light gold color. I used an eye pencil.


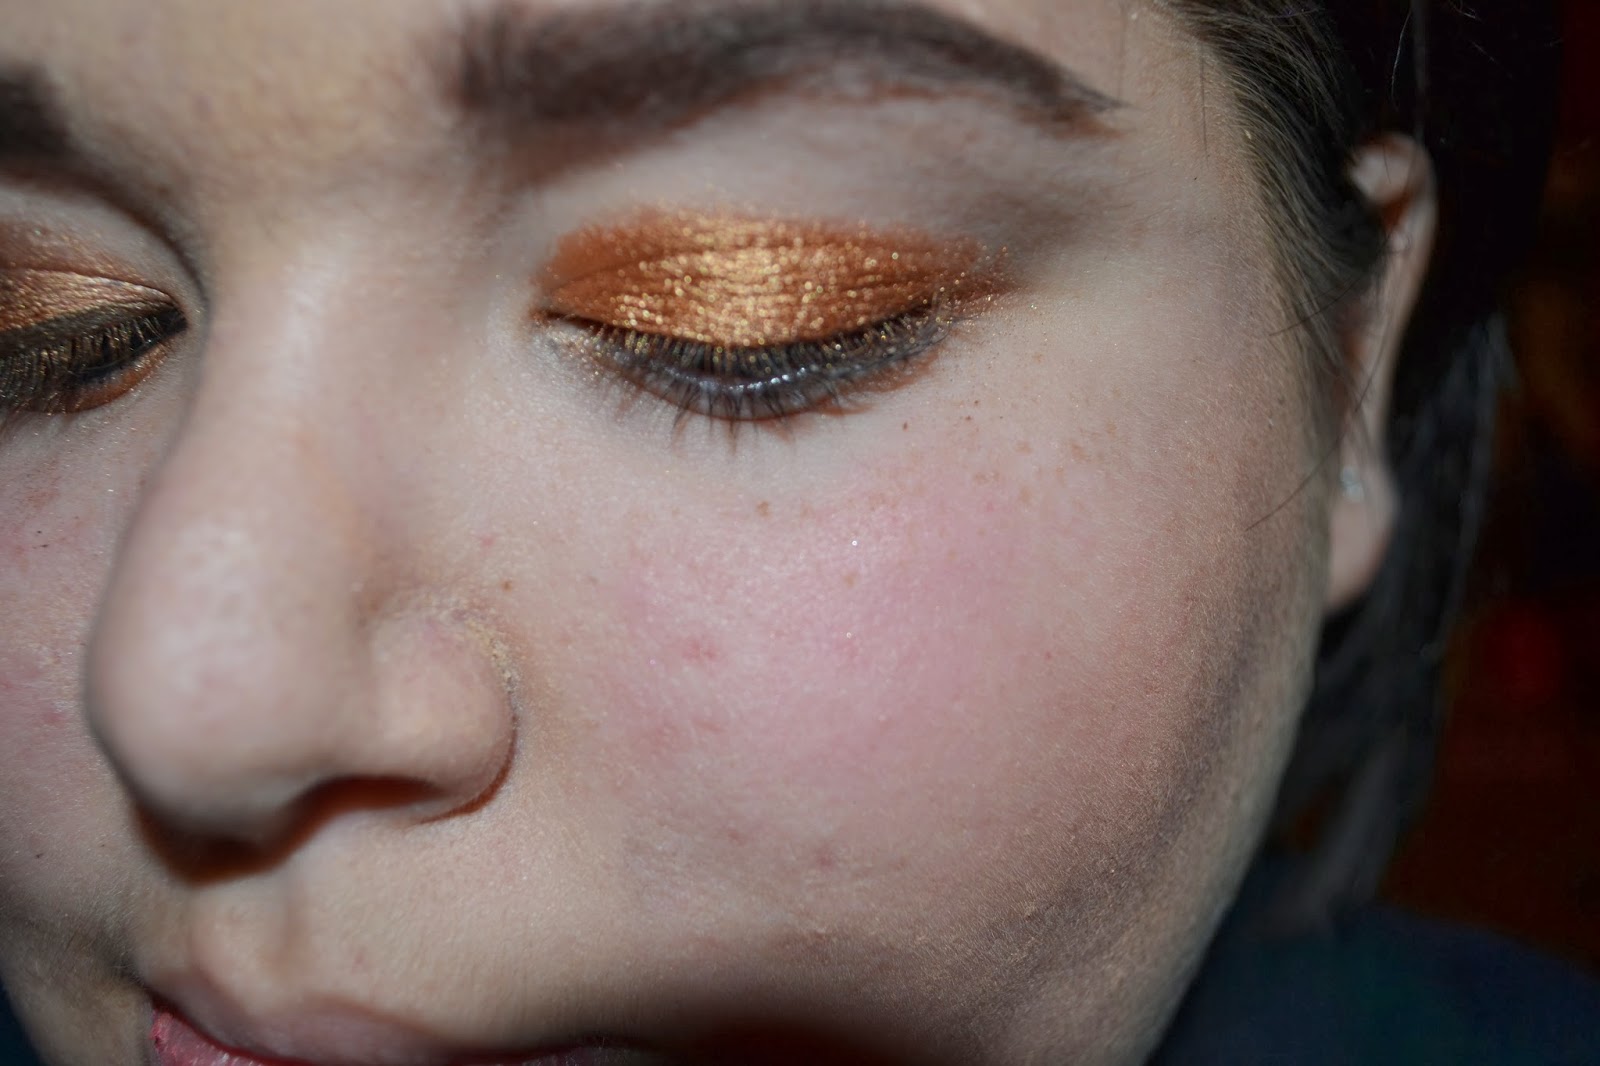
Then put a gold eyeshadow all over your lid.


Then add a matte orange to the outer 3rd and then blend a dark purple in the crease.


Next add the dark purple on the lower part of your lashes and only to the outer corner to the middle and at the middle blend the light gold to the inner corner. Finally add a matte cream color as your highlight on your brow bone.


After you add gel liner to the top lash line, black pencil liner to the water line, and mascara you're done!


Thanks for reading!

Products used


  • LORAC Pro Palette
  • Covergirl Clump Crusher mascara
  • NYX Jumbo Eye Pencil in Cashmere
  • Urban Decay 24/7 Glide On Eye Pencil in Perversion
  • Urban Decay Eyeshadow Primer Potion
  • MAC Saffron Eyeshadow
  • Maybelline Gel Liner in Espresso

Opened. Eyeshadow used are in orange boxes


Monday, October 14, 2013

How to Apply Winged Eyeliner - The Basics

Hey guys! I'm starting a new series called the basics. It will be all the basic things you need to know about makeup and how to apply it. I will make a master post that has all of the links to all of the tutorials when I have a few. There are many different ways to apply eyeliner but this is the way I do it most of the time. You can use different products also. I'm using a pen style eyeliner but you can use pencil, gel, liquid, etc... So let's get started!

First start with a clean eye and prime it with eyeshadow primer.


You can use any eyeshadow color you want but today I used a color that is close to my skin tone just to even out the eyelid. Then I used a light warm brown to define the crease.


Now I take my eyeliner and make a small thin line going towards the end of my brow. It makes sense in the picture.


Then I lightly drag the eyeliner towards my lashes make a small triangle.


And I fill it in.


Then I add mascara and I'm done!


Thanks for reading!

Sunday, October 6, 2013

Laura Mercier Long Lash Mascara Review

Hey guys! I'm here today with a review of Laura Mercier's Long Lash Mascara. It retails for $24 and you can purchase it here. This mascara has a long and thin wand and it can get into all of your lashes, including the outer corners, which is sometimes hard. It lengthens your lashes and doesn't flake. It looks very natural but doesn't give you 'full' looking lashes. I would have to layer this with another mascara,  but if you are looking for a natural looking mascara, this is the one for you!

Pictures


Without Product


One Coat

Two Coats


Thanks for reading!

Disclaimer - This product was not sent to me. I purchased with my own money.