Showing posts with label natural. Show all posts

Tuesday, September 9, 2014

Benefit Speed Brow Review and Pictures.

Hey guys! I'm here today to review Benefit Speed Brow in the neutral shade. I think there's one more shade that is a little lighter, but I'm not sure. This a a tinted brow gel, used to keep your brow hairs down and in place. The applicator is a large spoolie that you brush through your brows after you filled them in. I don't think this provides any extra color to my brows, I tried to swatch it when I first got it and it was so thin and almost transparent. When I blended it on my hand the color washed away, so if you want a brow product that provides extra color, I would look into Gimme Brow by Benefit. I do like this product though, for keeping my brow hairs glued down. The don't move all day and the color doesn't fade either. Since it doesn't provide extra color, it keeps the brows looking very natural, depending on how you fill your brows in. I do think this product is said to be used as the only product to use on your brows if your'e on the go, and I do think that it's great to use when you're in a hurry, but your brows do not look filled it. At least my don't, but I have very think dark brows. By the end of the day, I can run my finger across my brow and still feel the product there, even through the humid, hot, Alabama heat. I really like this product, but I'm not head over heels for it. If you would like to try it for yourself, you can for $18 here.


Thanks for reading!

Disclaimer - This product was not sent to me.

Wednesday, March 5, 2014

Tarte Cheek Stain in Blissful Review and Swatches

Hey guys! I'm here today with a review of Tarte's Cheek Stain in Blissful. The color is very peachy on the warm side. My favorite thing about this product is that it's really sheer. Honestly you couldn't use too much. It looks so natural on the cheeks. There is very very fine golden shimmer which gives your cheeks this gorgeous glow. By the end of the day, the 'glow' isn't there, but the color is. I just dot it on my cheeks and smooth in with two fingers. I like that I don't have to use a brush. The only problem I have with this product is the packaging. You have to push from the bottom to get more product and if you push it too far, which is easy, you have to push the top back down with your fingers and it dents the product itself. Other than that, I LOVE this cheek stain and cannot wait to buy more. If you would like to purchase this, you can for $30 here.


The right side is heavily swatched. The left side is blended.

Thanks for reading!

Disclaimer - This product was not sent to me. I purchased on my own.

Wednesday, February 26, 2014

Hourglass Ambient Lighting Blush in Mood Exposure Review and Swatches

Hey guys! I'm here today with a review of Hourglass new Ambient Lighting Blush in Mood Exposure. I had a hard time picking out a color at Sephora because all of them are soooo pretty. This color is a soft mauve with light cream veining. It has subtle shimmer and looks glowing on the skin. This color looks very natural and stays on the skin very well. It's butter smooth and blends effortlessly. The packing it comes in is a very reflective golden-ish plastic snap closure. It's very sleek and a little thicker than a NARS blush. I cannot wait to purchase more of these! If you would like to purchase one of these you can here for $35.


Thanks for reading!

Disclaimer - This product was not sent to me. I purchased on my own.

Saturday, October 12, 2013

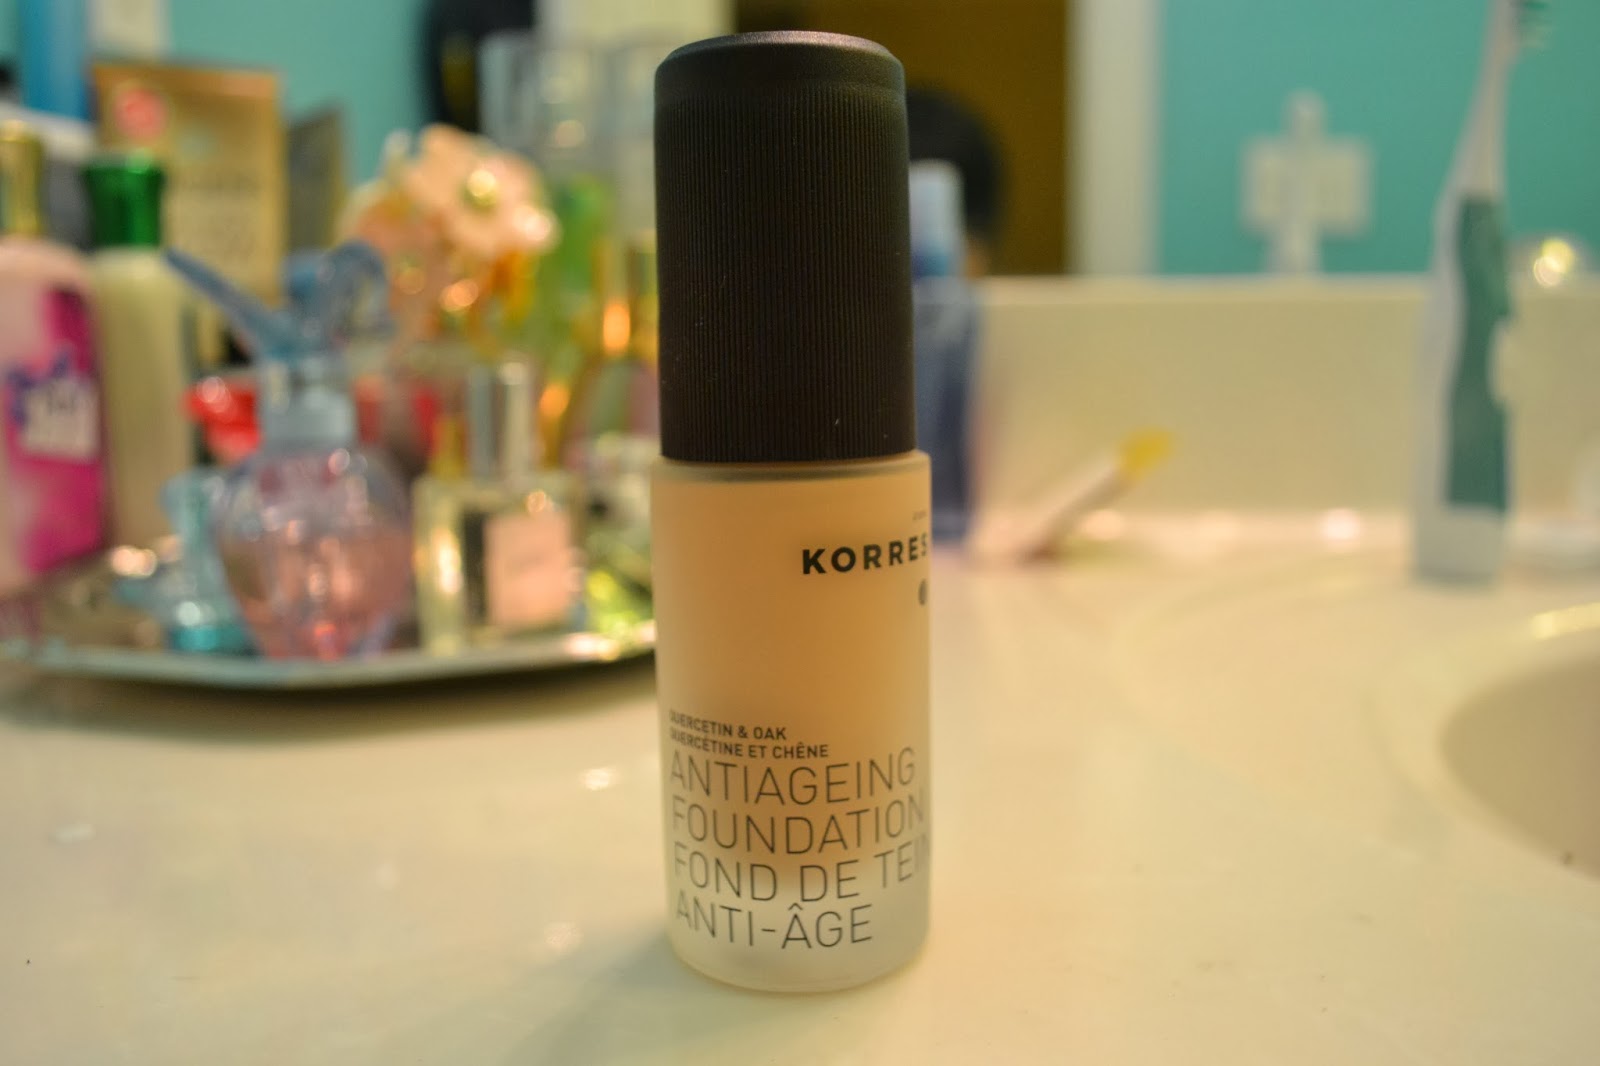
Korres Antiageing Foundation Review

Hey guys! Today I'm here with a review of Korres Antiageing Foundation. It comes with 0.91 oz of product for $39. I got the shade 10 Light Sand. It is a long wearing foundation that is supposed to reduce the appearance of fine lines. When I first applied it, it had very light coverage but it is buildable. It didn't break my skin out which is awesome because a lot of products do. It's also long wearing but I did have to apply powder near the end of the day because my skin was a little shiny. It looks very natural outside and I would recommend this for anyone with any skin type. If you would like to purchase this, you can here, Now for pictures!


With


Without


Thanks for reading!

Disclaimer - This product was not sent to me. I purchased with my own money.

Sunday, October 6, 2013

Laura Mercier Long Lash Mascara Review

Hey guys! I'm here today with a review of Laura Mercier's Long Lash Mascara. It retails for $24 and you can purchase it here. This mascara has a long and thin wand and it can get into all of your lashes, including the outer corners, which is sometimes hard. It lengthens your lashes and doesn't flake. It looks very natural but doesn't give you 'full' looking lashes. I would have to layer this with another mascara,  but if you are looking for a natural looking mascara, this is the one for you!

Pictures


Without Product


One Coat

Two Coats


Thanks for reading!

Disclaimer - This product was not sent to me. I purchased with my own money.

Monday, September 2, 2013

2 Looks, 1 Palette - Too Faced Natural Eye

Hey guys! I'm here with a 2 looks, 1 palette eyeshadow tutorial using Too Faced Natual Eye Palette. I love doing these because there are endless looks you can do with any eyeshadow. When you see the pictures of the palette, you can tell I ADORE this palette. I honestly use at least one shadow out of it every day. It is definitely a staple in my collection. If you would like to purchase it, you can do that here. Now onto the fun part!

First look - Start off with a clean eyelid and prime with a eyelid primer. I used Urban Decay Primer Potion. Then put Honey Pot all over the lid.


Then blend Cocoa Puff in the crease with a fluffy brush.


Then use a small precision brush and put Sexpresso in the outer V to give the crease some depth. And blend away!


Lastly, add some liquid liner to the top lash line and mascara. And you're done with look #1!


Second look - Start with a clean eye and add eyelid primer. I then added Heaven all over the lid. It doesn't look like anything is on but it's important to have a nice clean base.


Then I mixed Silk Teddy and Push-Up with a large fluffy brush and blended it in the crease.


Next I lightly put Erotica in the outer V.


This next part doesn't really show up in pictures but I took Nude Beach with a flat shader brush and packed it on lid. This shade has so much fall out and gritty glitter that it is so hard to work with. In real life, the lid looks more sparkly than it does on camera. Then I lined my upper lash line with Urban Decay's eyeliner in Lust, and then went back over that with a black pencil liner because I was a bit too purple. Lastly add mascara and you are done!


Palette used -

poor thing

Thanks for reading!

Disclaimer - This product was not sent to me. I purchased with my own money (a long time ago).